User Roles Management
Revamped “User Roles” on ZenATS will allow you to streamline and simplify user management. The update introduces a role-based system for company users, replacing individually assigned permissions. Now, users are assigned to roles, making it easier to manage access. This includes three updated roles for company users—Super Admin, Standard Member, and Officer. You can now also create custom roles and tailor access according to your specific needs.
TABLE OF CONTENTS
- User Roles Management
- Company Users - Updated Roles
- Custom Roles for Tailored Control
- Managing Company Users
Company Users - Updated Roles
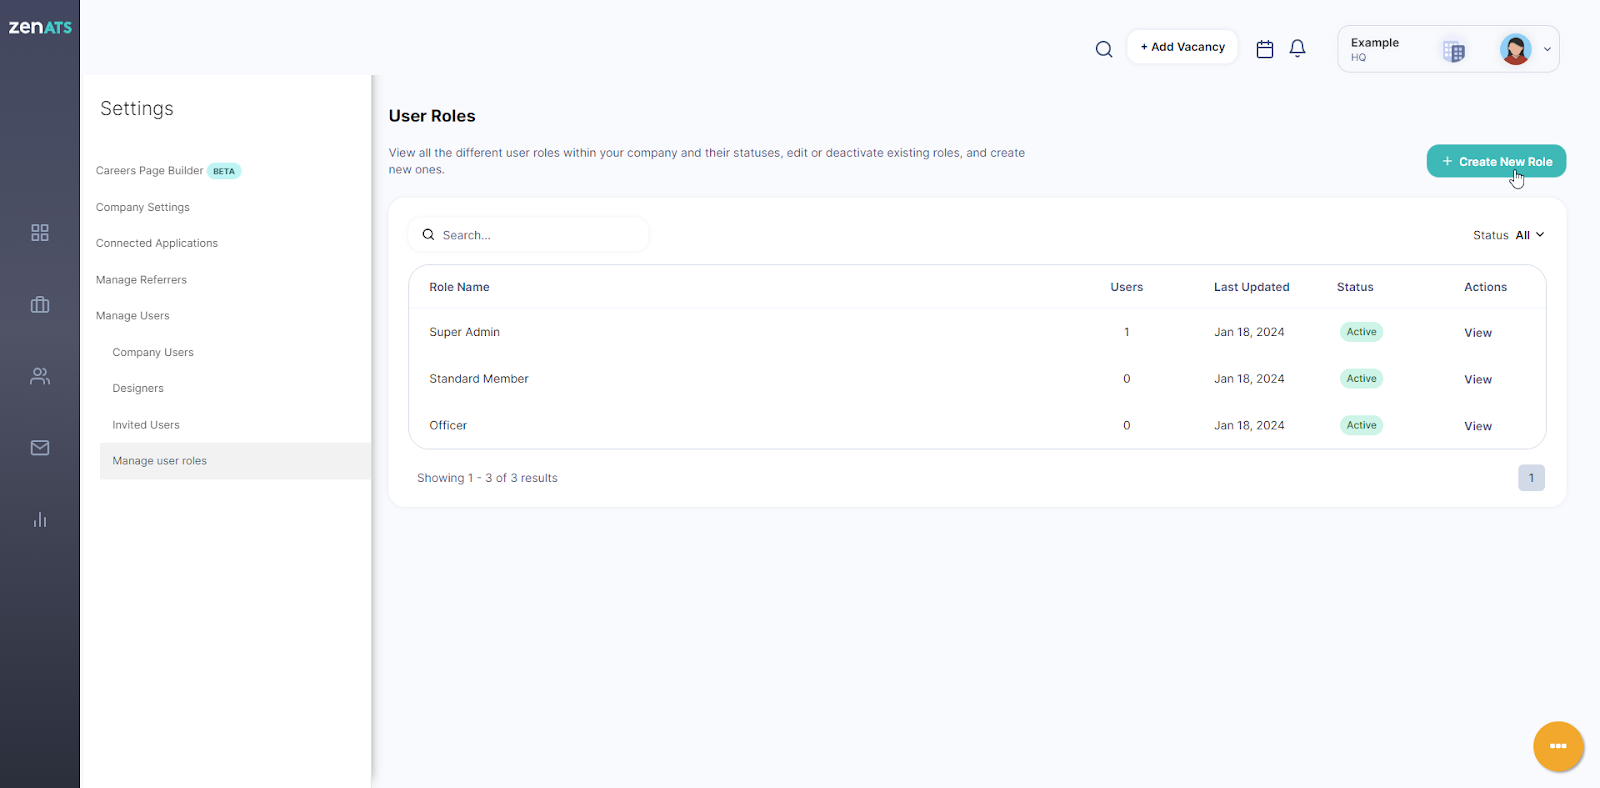
System Preferences → Manage Users → Manage User Roles
On this page, you’ll find a table that includes the three fixed roles and all other available roles in your company.
We've introduced three predefined roles for simplified user assignment. These roles include:
Super Admin: this fixed role holds unrestricted access to the system and can access all the company branches and jobs.
Standard Member: this fixed role holds all permissions in the system except access to settings user management and can only access branches and jobs the user is assigned to.
Officer: this fixed role has permission on all actions but is restricted from accessing settings, managing users, and reports, and can only access branches and jobs the user is assigned to.

Custom Roles for Tailored Control
You now have the flexibility to create custom roles that align with your specific needs. You can define roles in both English and/or Arabic and select the permissions you’d like for the role.
To customize a new role, click “Create New Role”.
This will open a new page for you to add all the information about the role you would like to create in English and/or Arabic. Enter the Role name, Description, and choose if you would like to activate this role now, and select the permissions you want this role to have.

Once you’re done creating the role, click “Save”, and it will be added to the table with all the other roles.
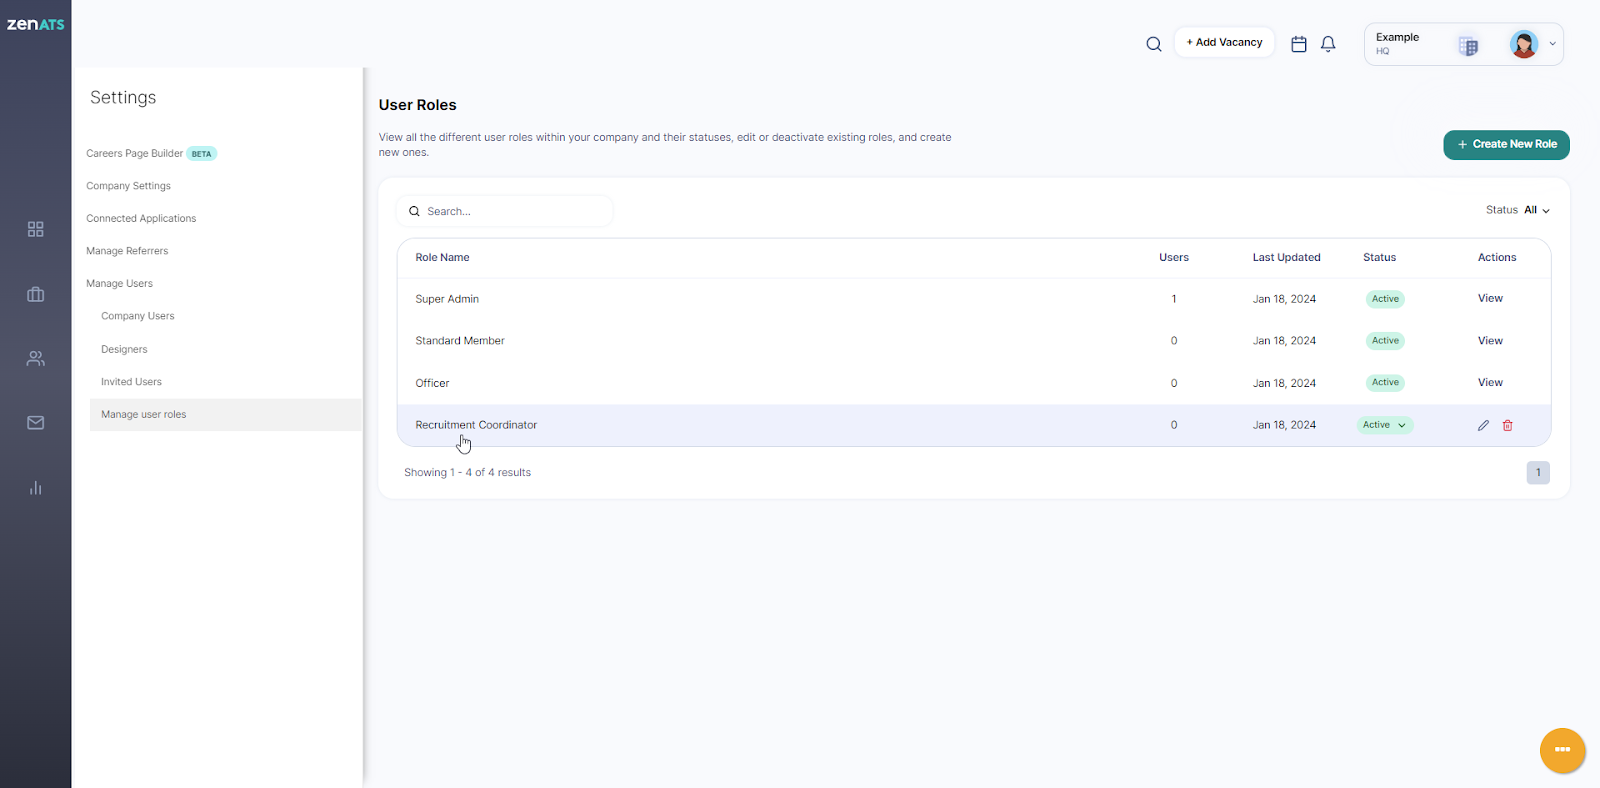
To View or Edit a role, click on the Role Name or the Edit icon beside it. The Role information will then be displayed for you to view or edit. To delete the role, click on the Delete icon.


Managing Company Users
System Preferences → Manage Users → Company Users
On this page, you’ll find a table with all the Company Users. The table includes the role name and user status (pending, active, or inactive) of each role. Here, you can easily manage all company users, add new users, edit users, or activate/deactivate any roles directly from the table.

To add a user, click the "Add User" button. This action will open a slider where you can input the necessary information to create a new user and choose their role.

Once a new user is added, they will be added to the table.
To modify a user's details, click the Edit icon. A slider will then open containing the user's information, where you can make edits by changing the user's Role, Switching to an Invited User, and/or Activating or Deactivating the user.
