Access Control
Access Control is the one place where you decide who can see and do what in ZenHR. Instead of handing out fixed, one-size-fits-all roles, you build your own roles: you pick exactly which parts of the system a role can reach, whether it can only look at them or also change them, and then you assign that role to people - each one limited to the branch, work location, department, section, project, or team they are responsible for.
This guide walks through the feature step by step: reading the Access Control page, creating a role with the wizard, choosing permissions, assigning users with an access scope, and maintaining roles over time.
Getting to Access Control
Main Menu → Settings → User Management → Access Control
Or go directly to https://app.zenhr.com/en/access_control.
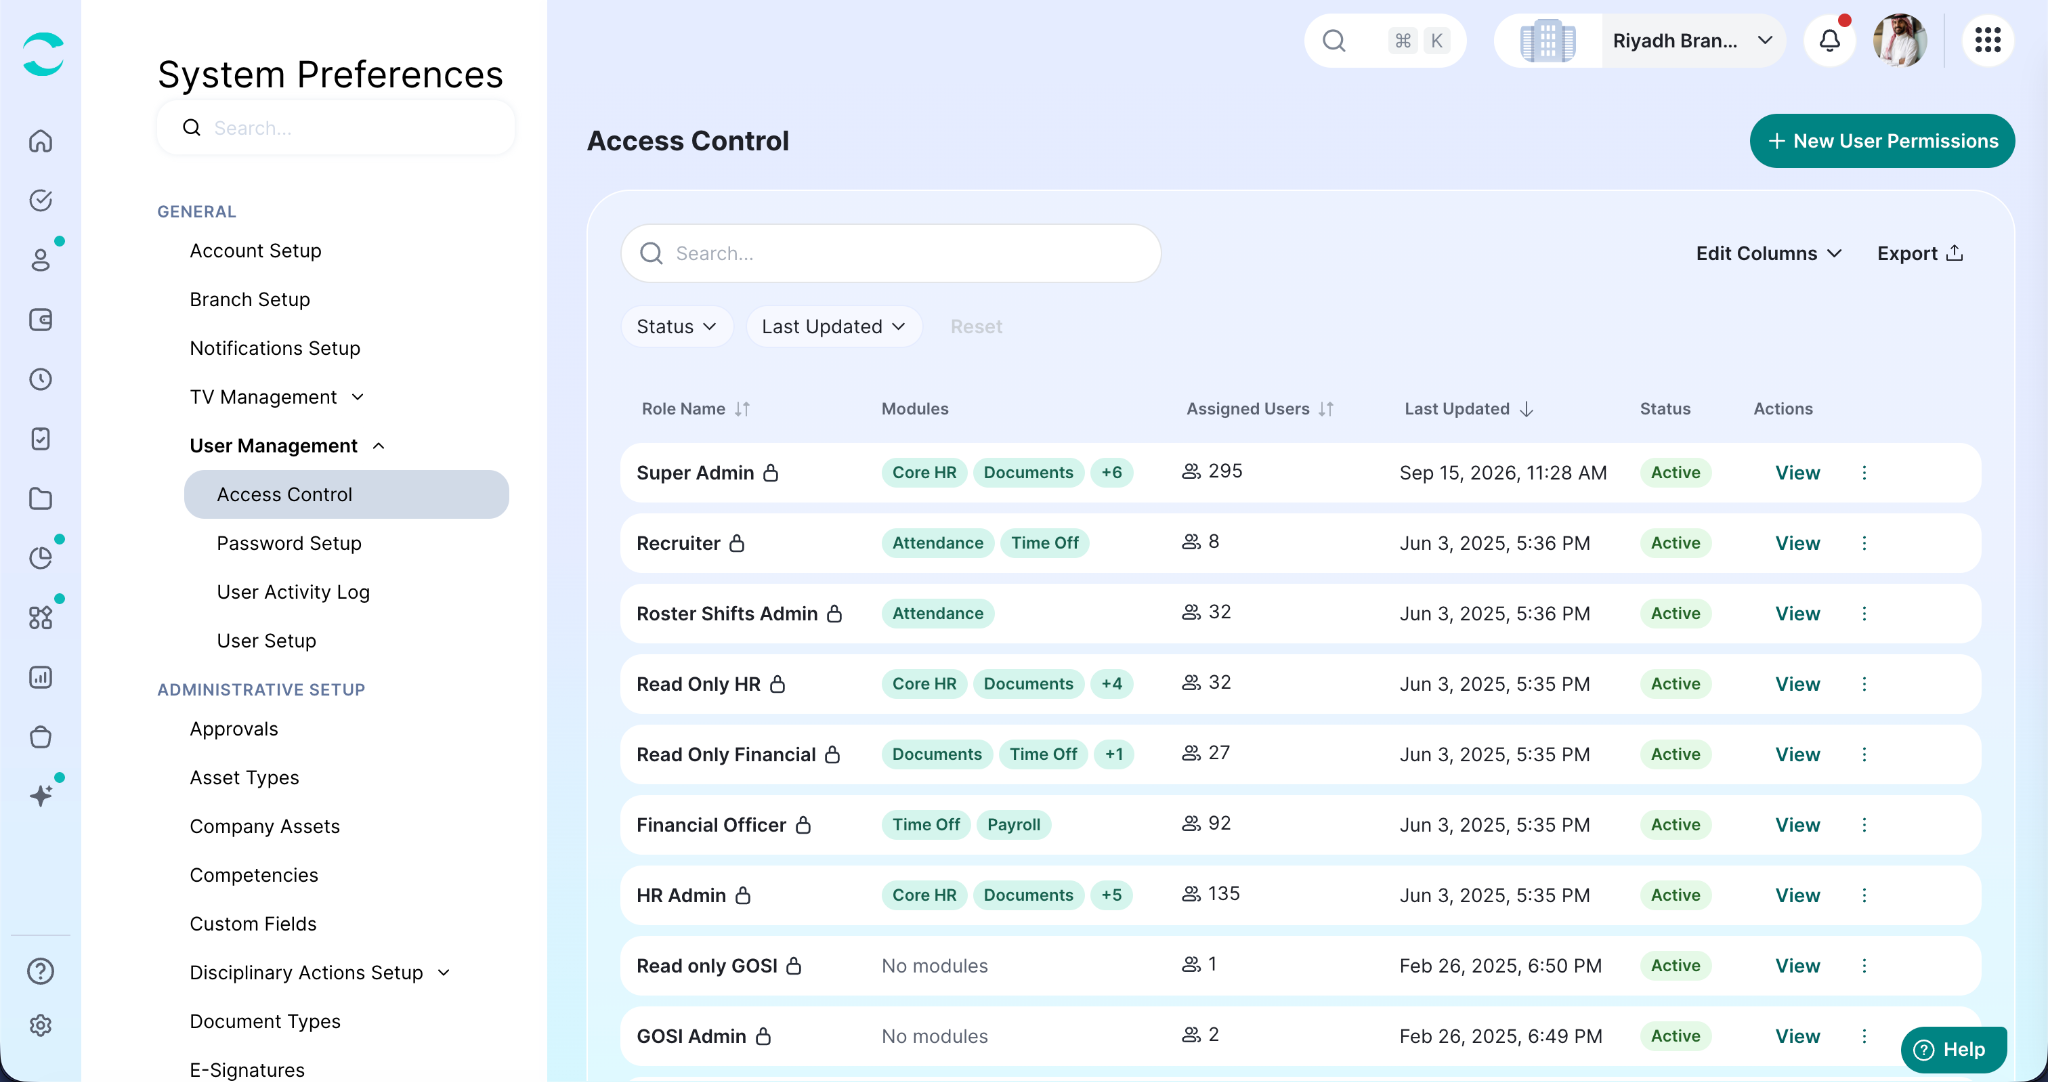
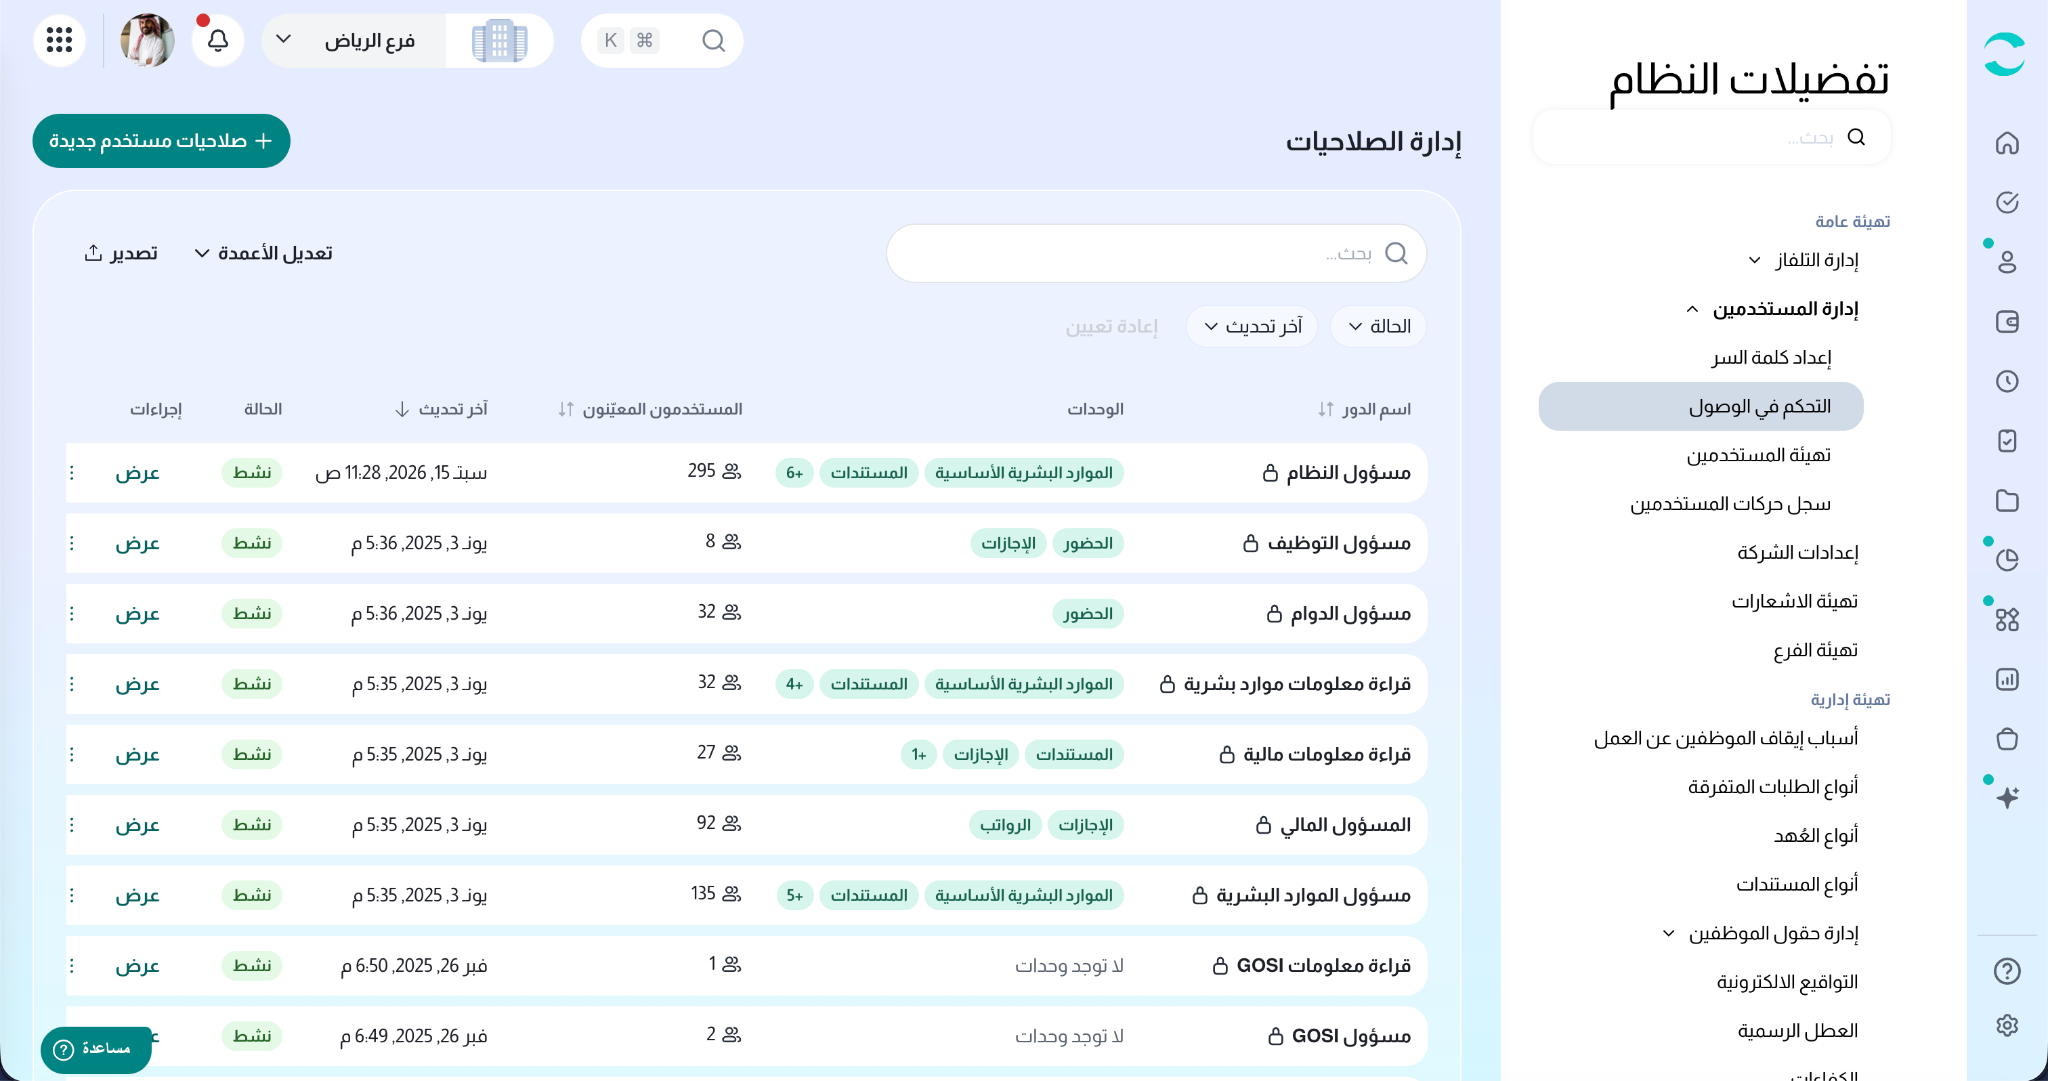
The page opens on the list of your company's roles, under the heading Access Control with the description "Manage company roles and permissions for your organization."
Good to know: Access Control replaces the older Company Roles page. You will only see the page - and the buttons that create or change roles - if your own role grants you access to company roles.
How Access Control Works
Every permission in ZenHR is made of two separate decisions. Getting them clear up front makes the rest of the guide easy.
A role on its own does nothing. It starts working the moment you assign it to a user with an access scope.
Permissions themselves are organized in three levels:
Module - the big area of the system, for example Core HR, Payroll, Time Off. There are ten.
Feature - a specific thing inside that module, for example Loans inside Payroll.
Action - what the role may do with that feature: Read or Manage.
Read means view only. Manage means view and create, edit, or delete. Because Manage always includes Read, ticking Manage automatically ticks Read for you and locks it - you cannot have Manage without Read. Some features are Manage-only (mostly setup screens, where there is nothing meaningful to "just read").
The Access Control Page
The page lists every role in your company, one per row.
The columns
System-managed roles are always pinned to the top of the list. Below them, roles are sorted by Last Updated, newest first.
Finding a role
Search - type in the search box to find a role by name.
Status filter - narrow the list down to Active or Inactive roles.
Sorting - click Role Name, Assigned Users or Last Updated to sort by that column.
Rows per page - choose how many roles appear per page (10 by default).
Your search, filter, sort and page are kept in the page address, so you can refresh the page or share the link and land on the same view.
Other list tools
Edit Columns - choose which columns to display.
Column reorder & pinning - drag columns into the order you want, or pin the ones you always need in view.
Export - download the current view.
Viewing a Role
Click any row (or View on the row) to open the role's details panel on the right.
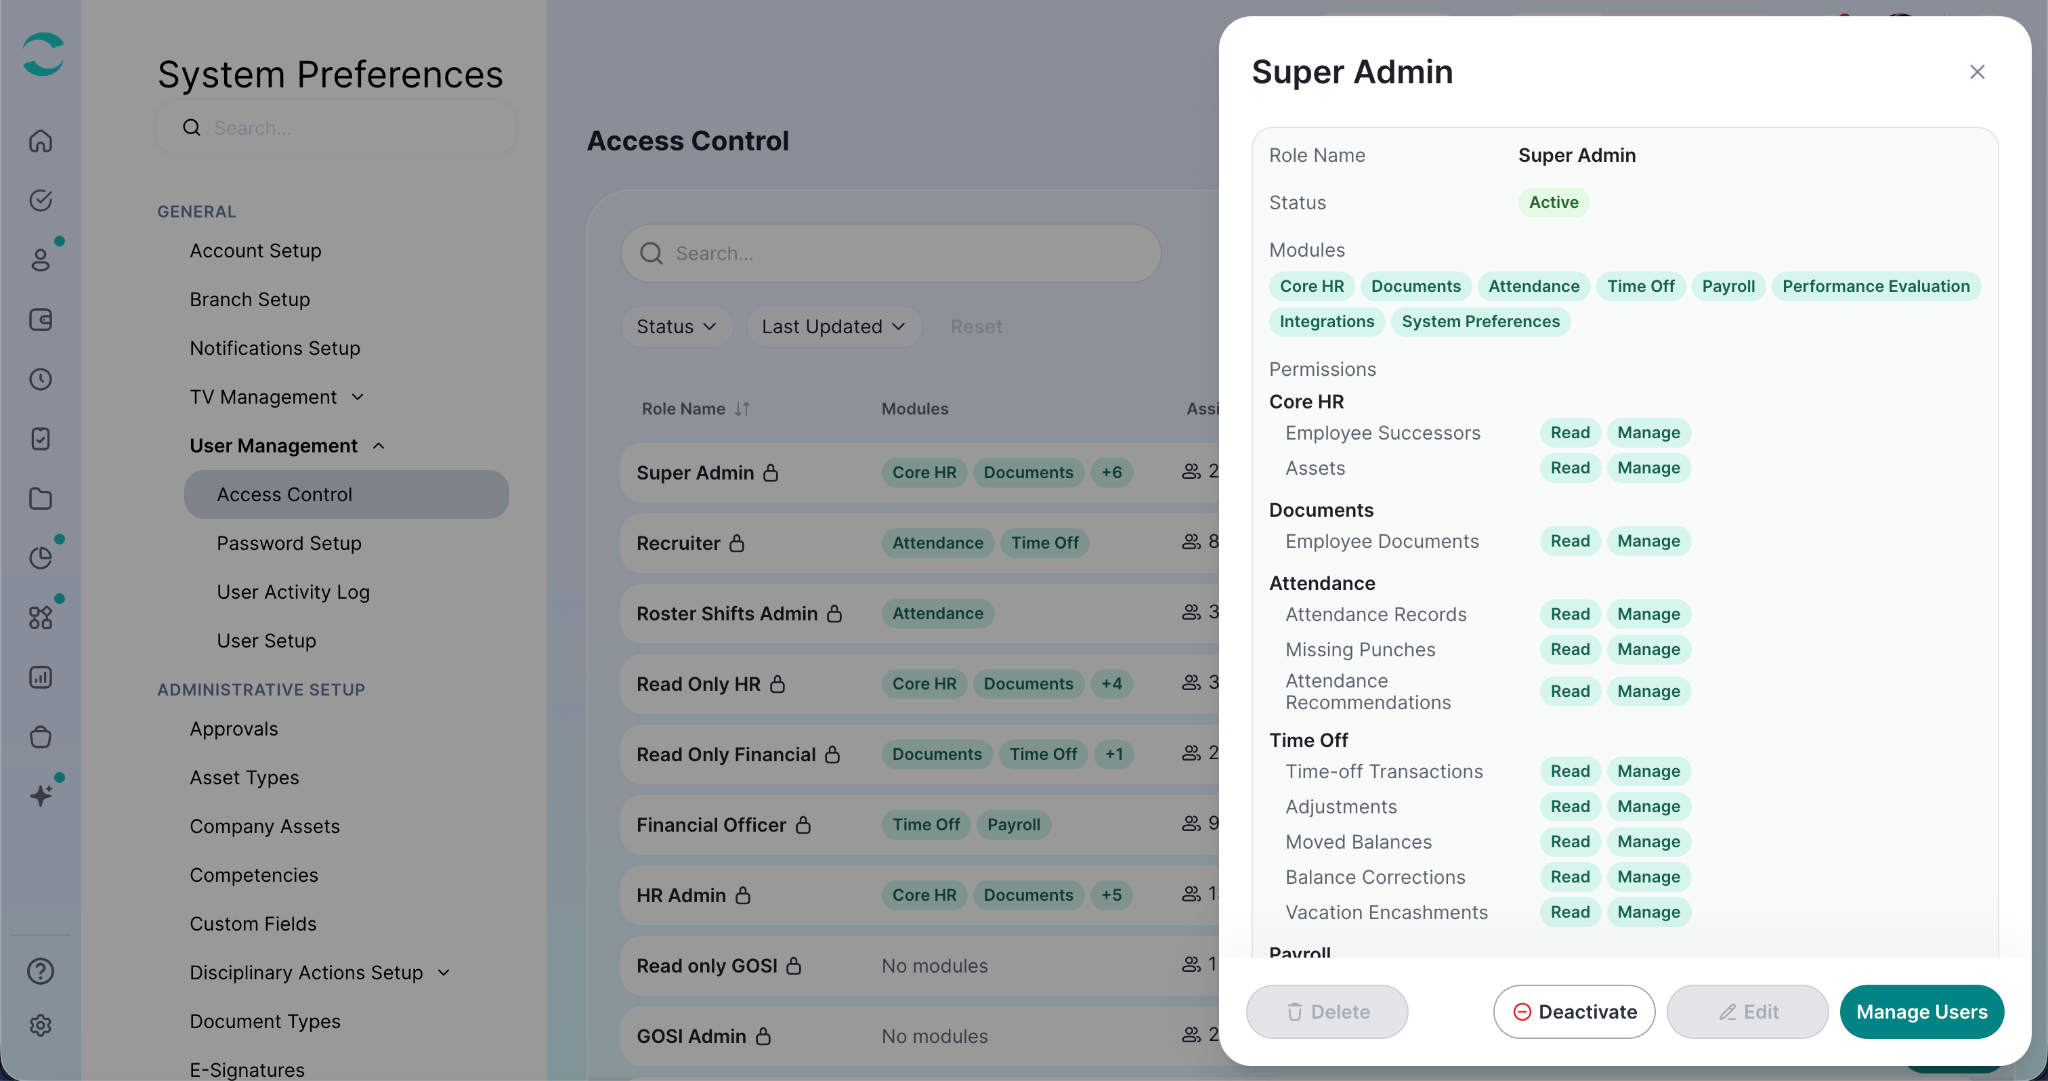
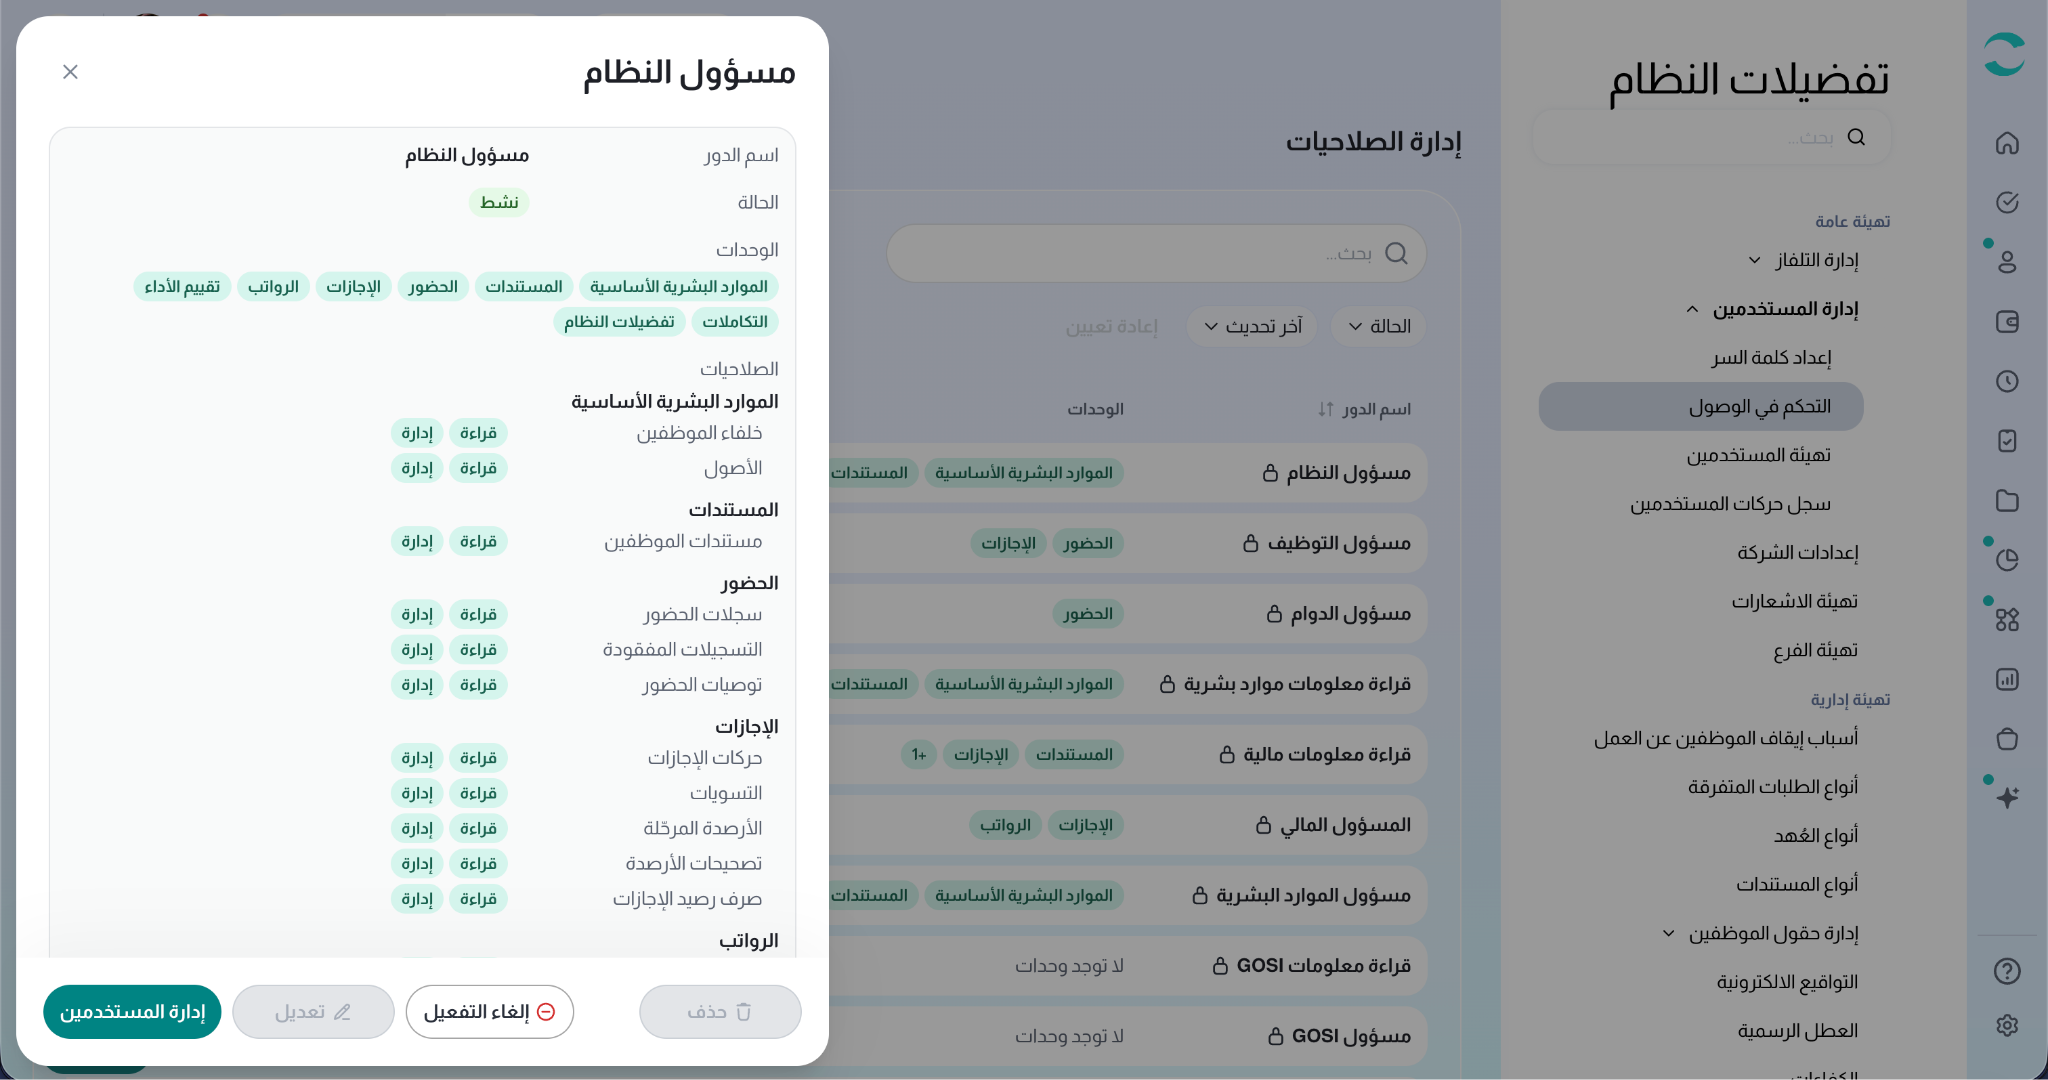
The panel shows:
Role Name
Status - Active or Inactive
Modules - every module the role grants
Assigned Users - the names of the people who currently hold the role
From the footer of the panel you can go straight to Delete, Deactivate / Activate, Edit, or Manage Users.
Creating a New Role
Click + New User Permissions at the top right of the page. The role wizard opens with three steps listed down the left side:
User Role
Permission Domains
Assign Users
You move forward with Next and back with Back. Later steps stay locked until the first step is filled in correctly; once it is, you can jump between steps freely using the list on the left.
Good to know: your work is saved as you go. If you accidentally close the tab and come back, ZenHR restores what you had entered and tells you "Restored your unsaved changes." If you leave the wizard with unsaved changes, you are asked "Discard changes?" - choose Keep editing to go back, or Discard to leave and drop the draft.
Step 1 - User Role
This step defines the user's access level and permissions in the system.
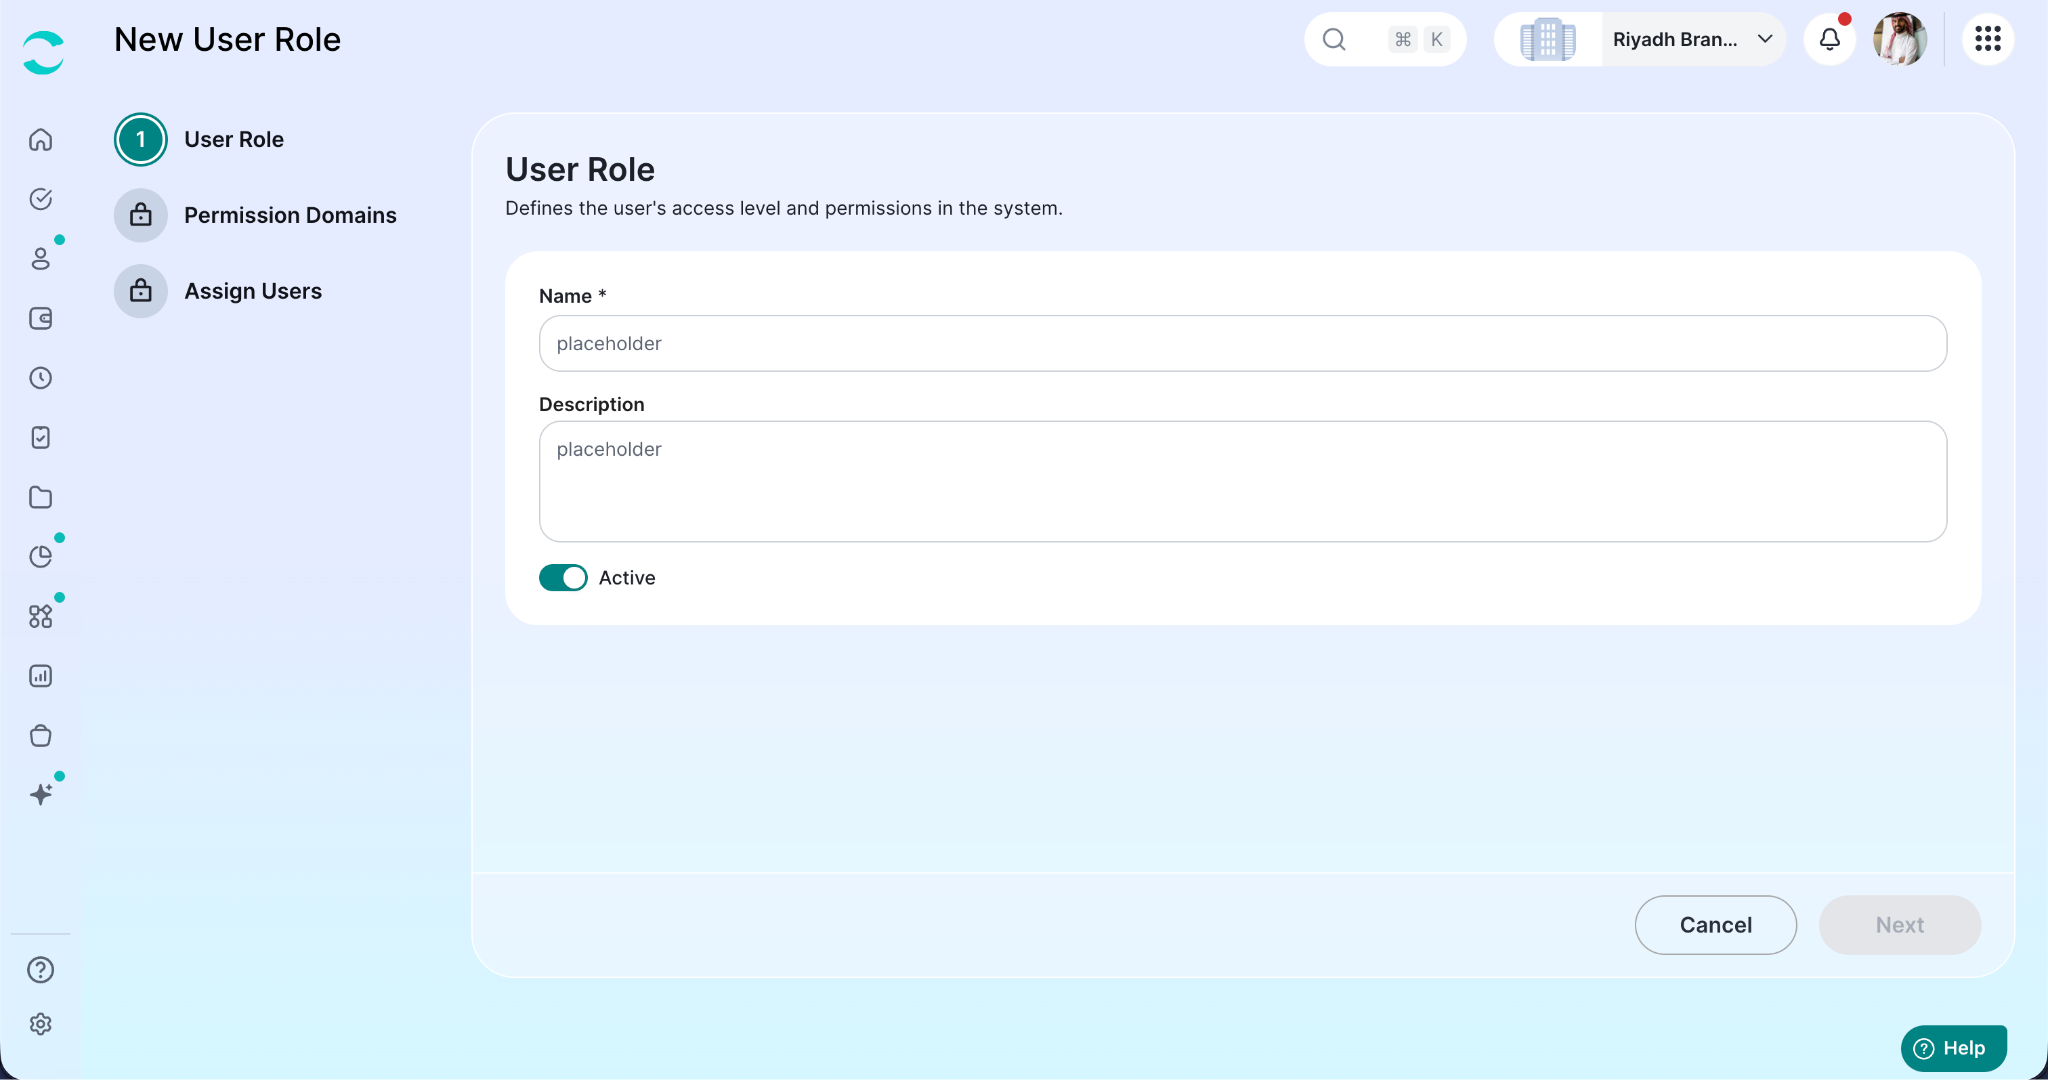
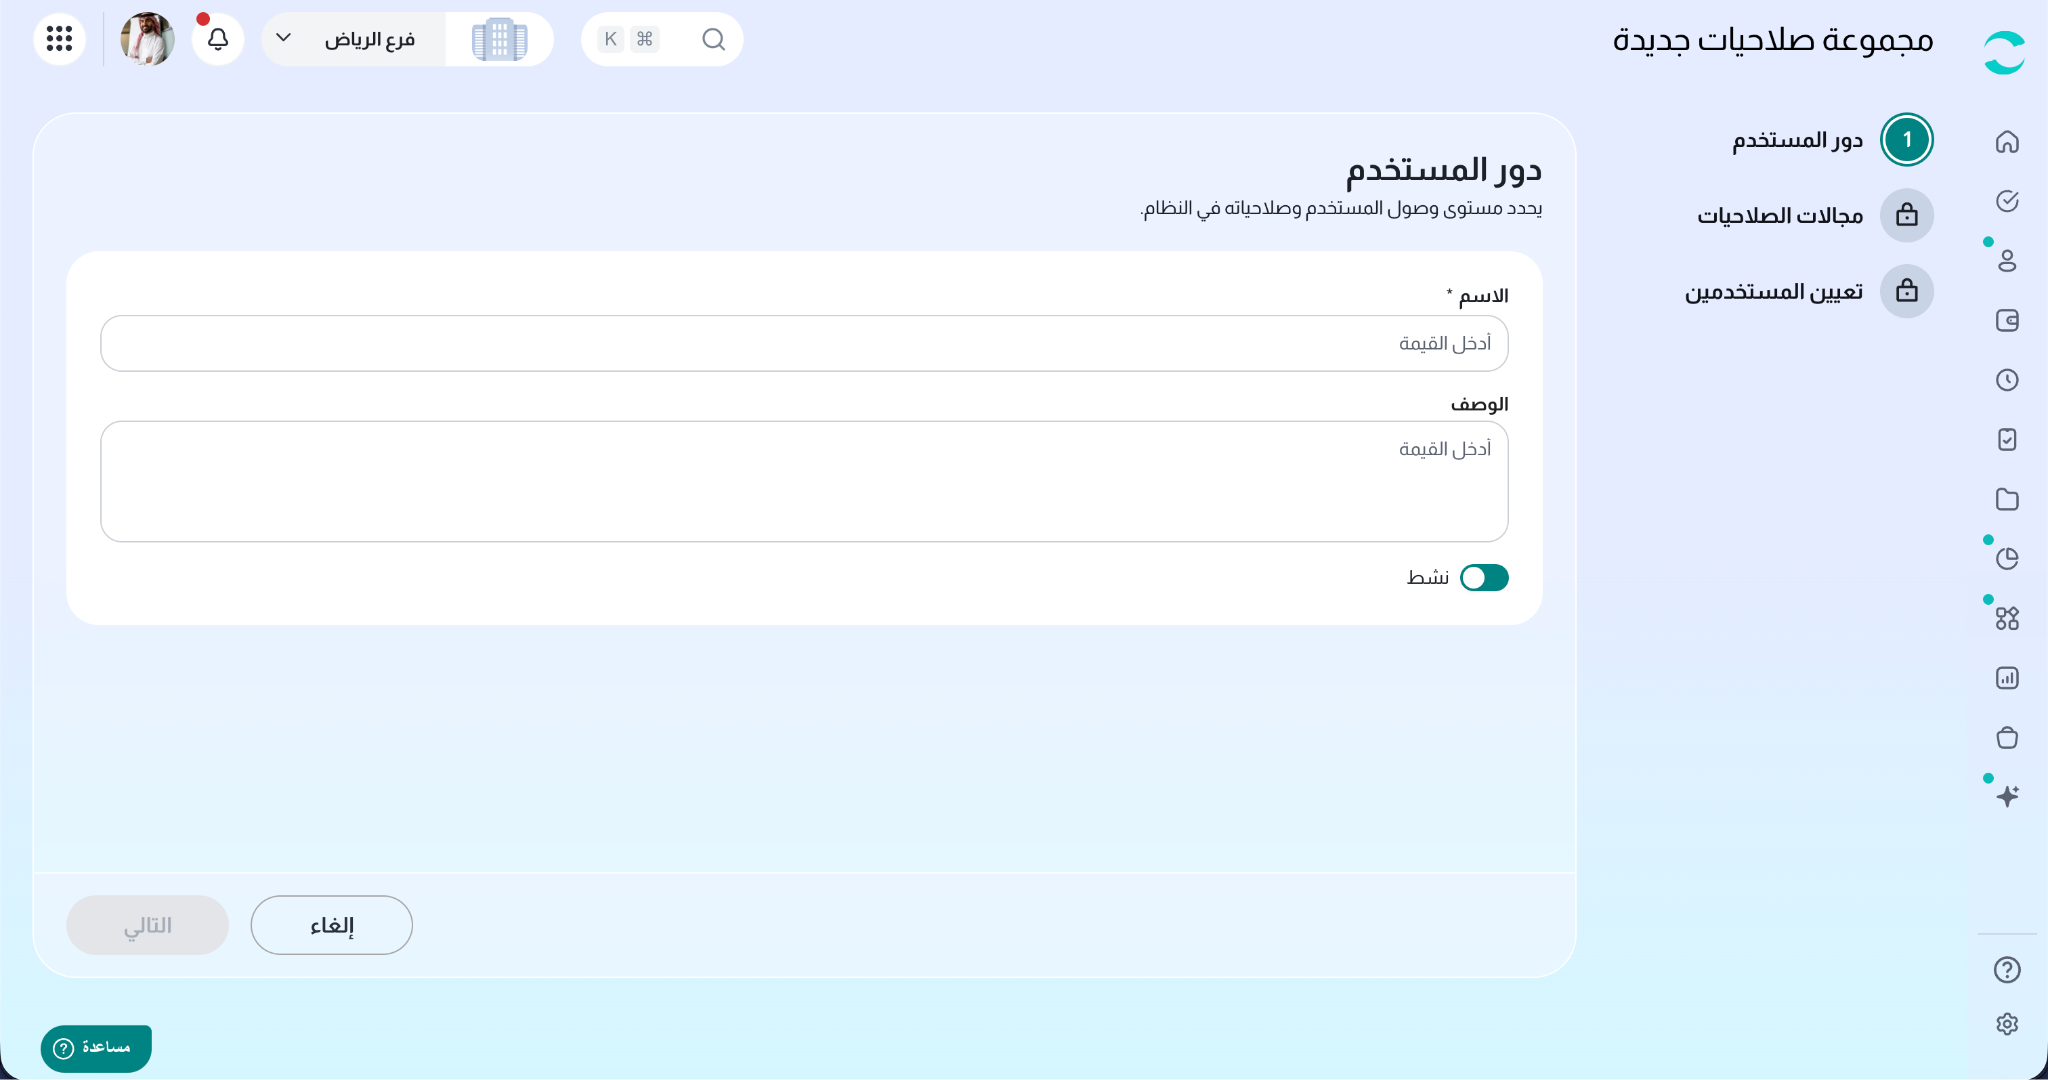
Enter a Name for the role - required. Choose something people will recognise, e.g. Payroll Officer – Amman.
Enter a Description - required. Describe what the role is for, so whoever maintains it later knows why it exists.
Leave Active switched on so the role starts granting access as soon as it is assigned. Switch it off to create the role now and turn it on later.
Click Next.
Note: on a system-managed role the Name field is read-only and shows the tooltip "This is a system-managed role, so its name can't be changed." You can still edit its description, status and permissions.
Step 2 - Permission Domains
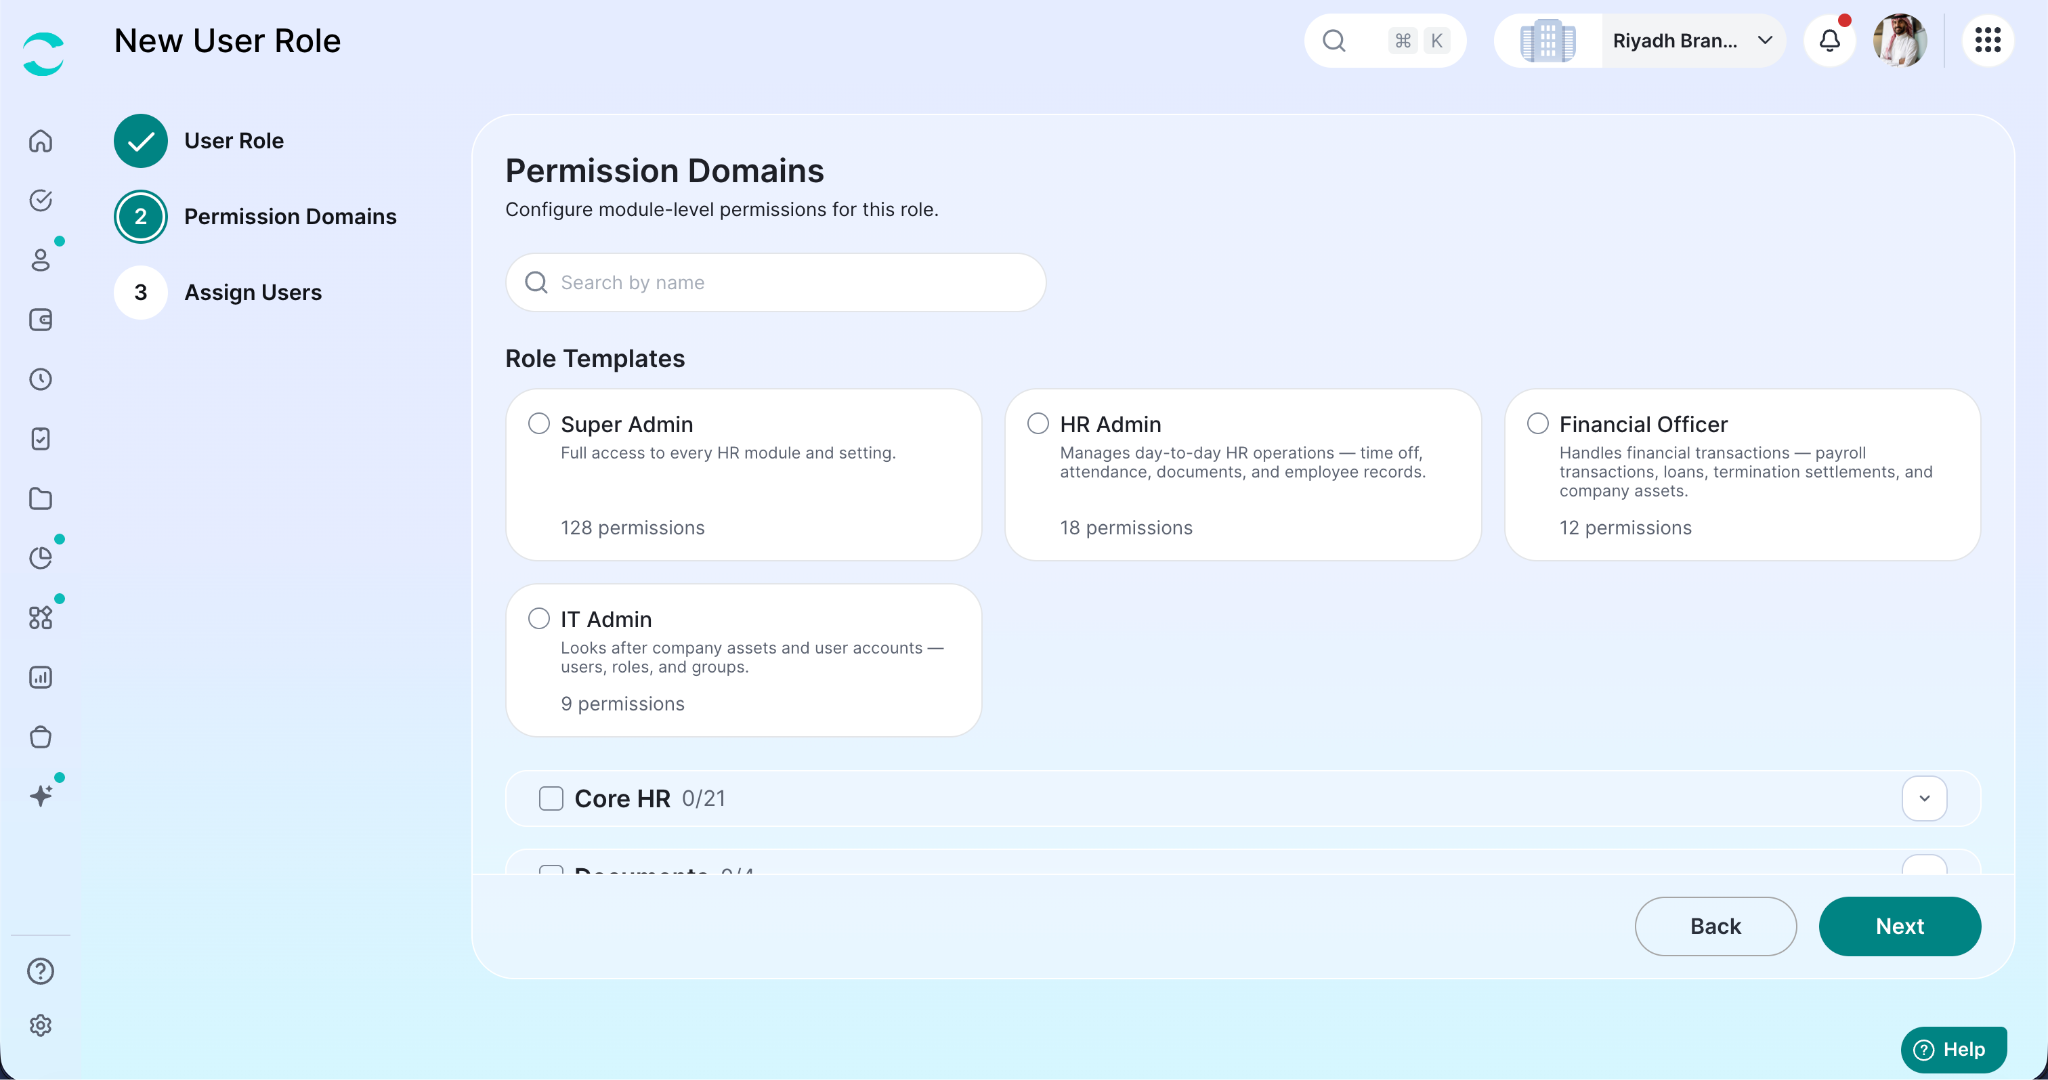
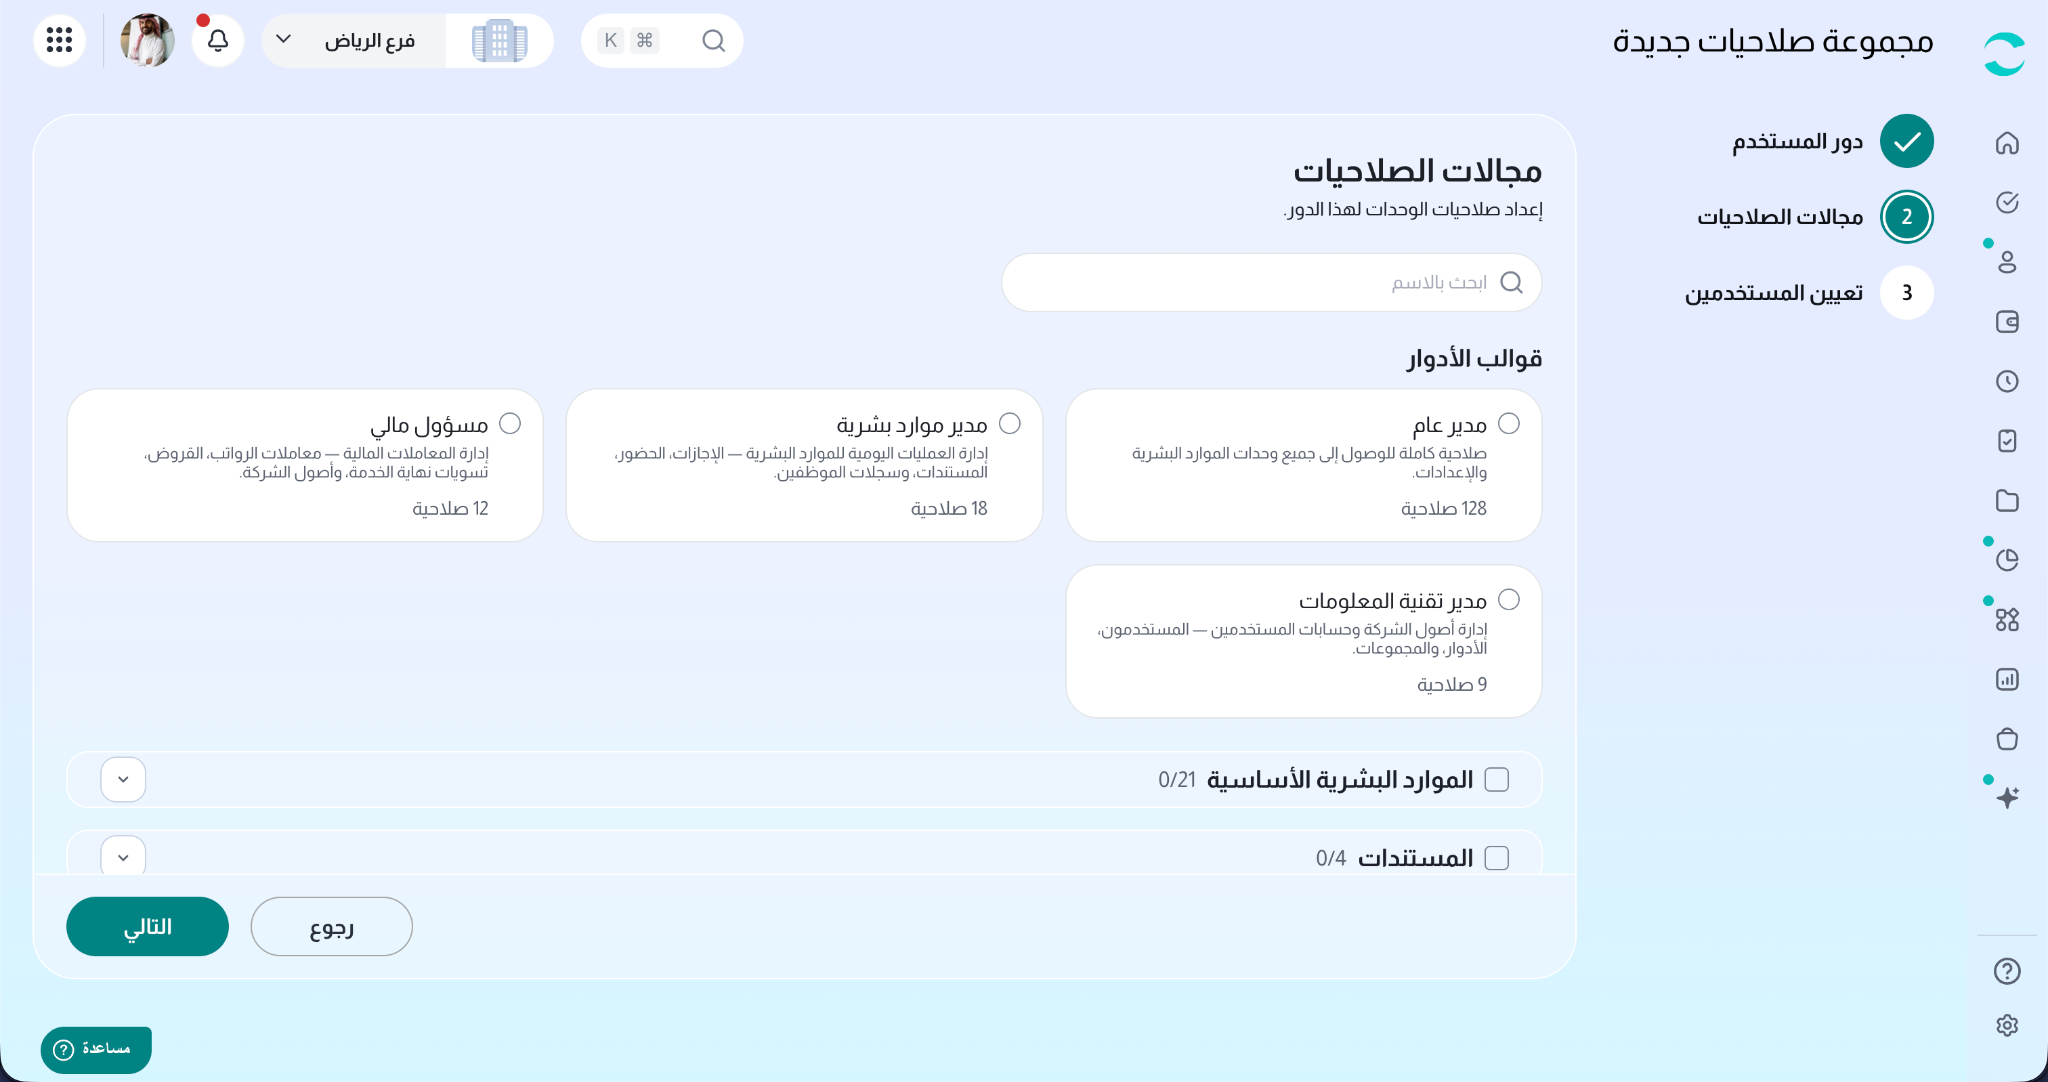
This is where you choose what the role can do.
Role Templates
When you are creating a role, a Role Templates row appears above the permission list. Each template is a ready-made starting point modelled on a common role, showing its name, a short description and how many permissions it contains:
Click a template to apply it. It replaces whatever is currently selected, and from there you tick and untick freely - a template is a starting point, not a permanent link. Templates are only offered when creating a new role; when editing, you work directly with the role's existing selection.
Choosing permissions
Permissions are shown as an expandable list, one section per module. Each module header carries a counter such as 7/22 - how many of that module's permissions are currently granted out of the total.
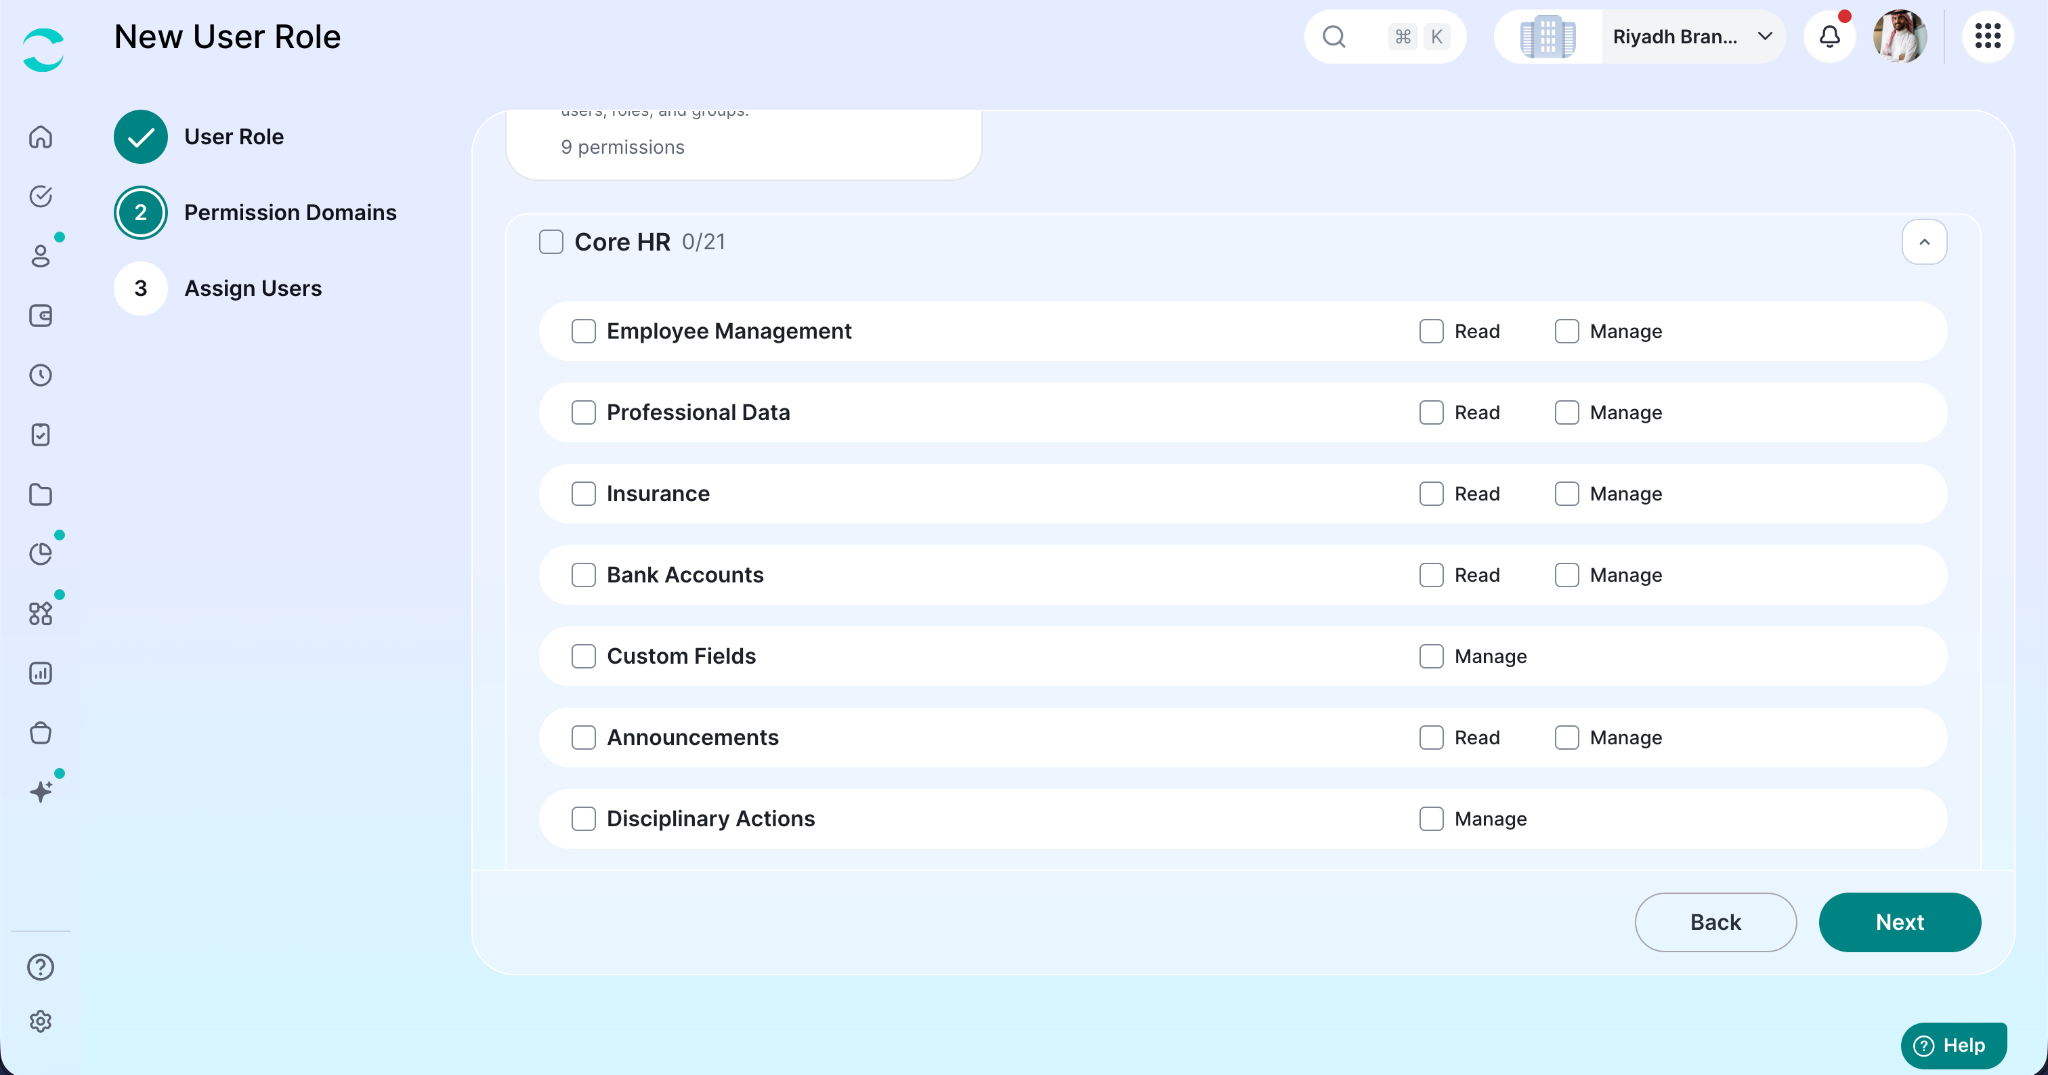
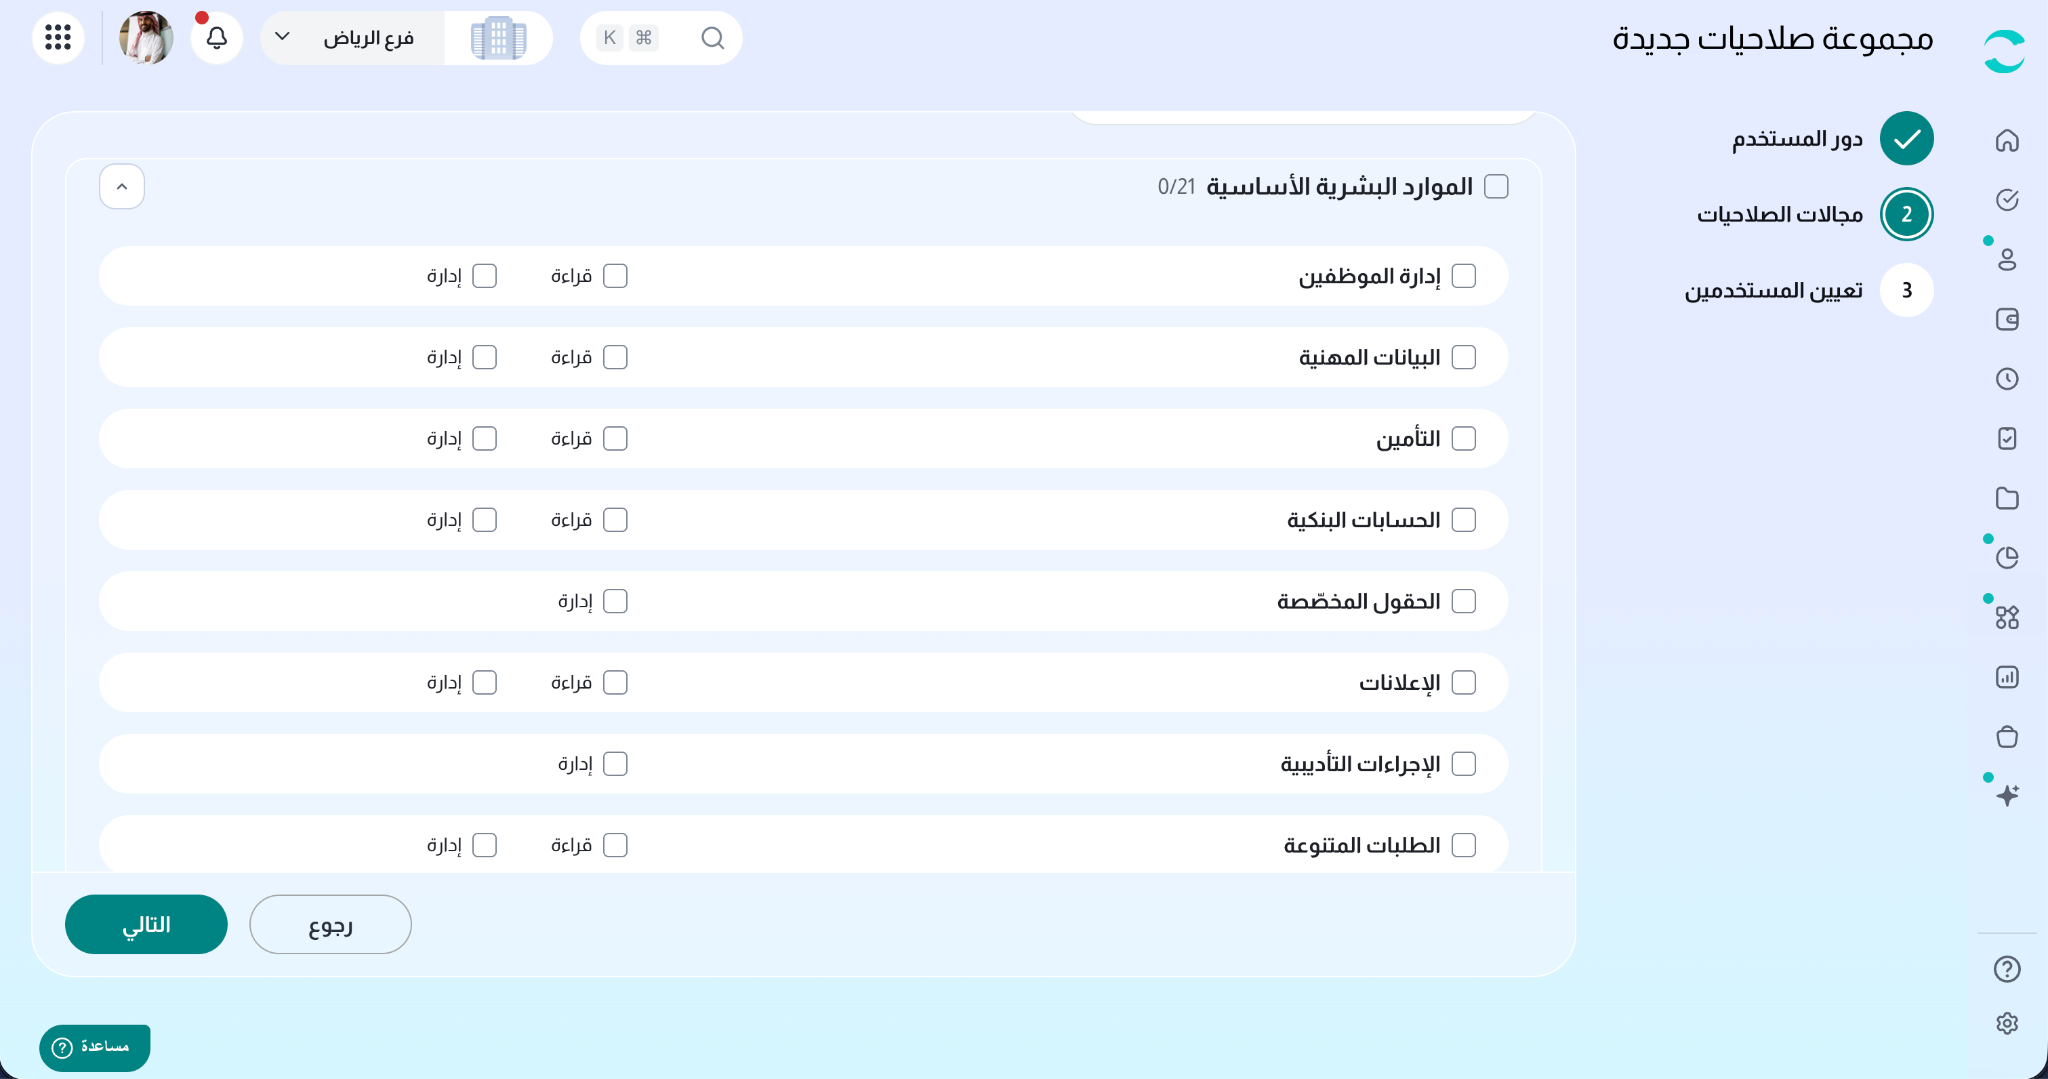
Tick the checkbox next to a module to grant everything inside it. Untick it to clear the whole module. A partly-granted module shows a dash instead of a tick.
Tick the checkbox next to a feature to grant all of its actions.
Tick Read or Manage on a feature row to grant just that action.
Ticking Manage automatically ticks Read and locks it. Hover the locked box to see "Included with Manage …". Untick Manage to release it.
Hover the ⓘ icon next to any feature for a description of what it covers.
Use Search by name to jump to a permission without scrolling. If nothing matches you'll see "No permissions match your search." Clear the search box to see the whole list again.
When you are done, click Next.
Step 3 - Assign Users
Choose the people who should hold this role, and the scope each of them gets.
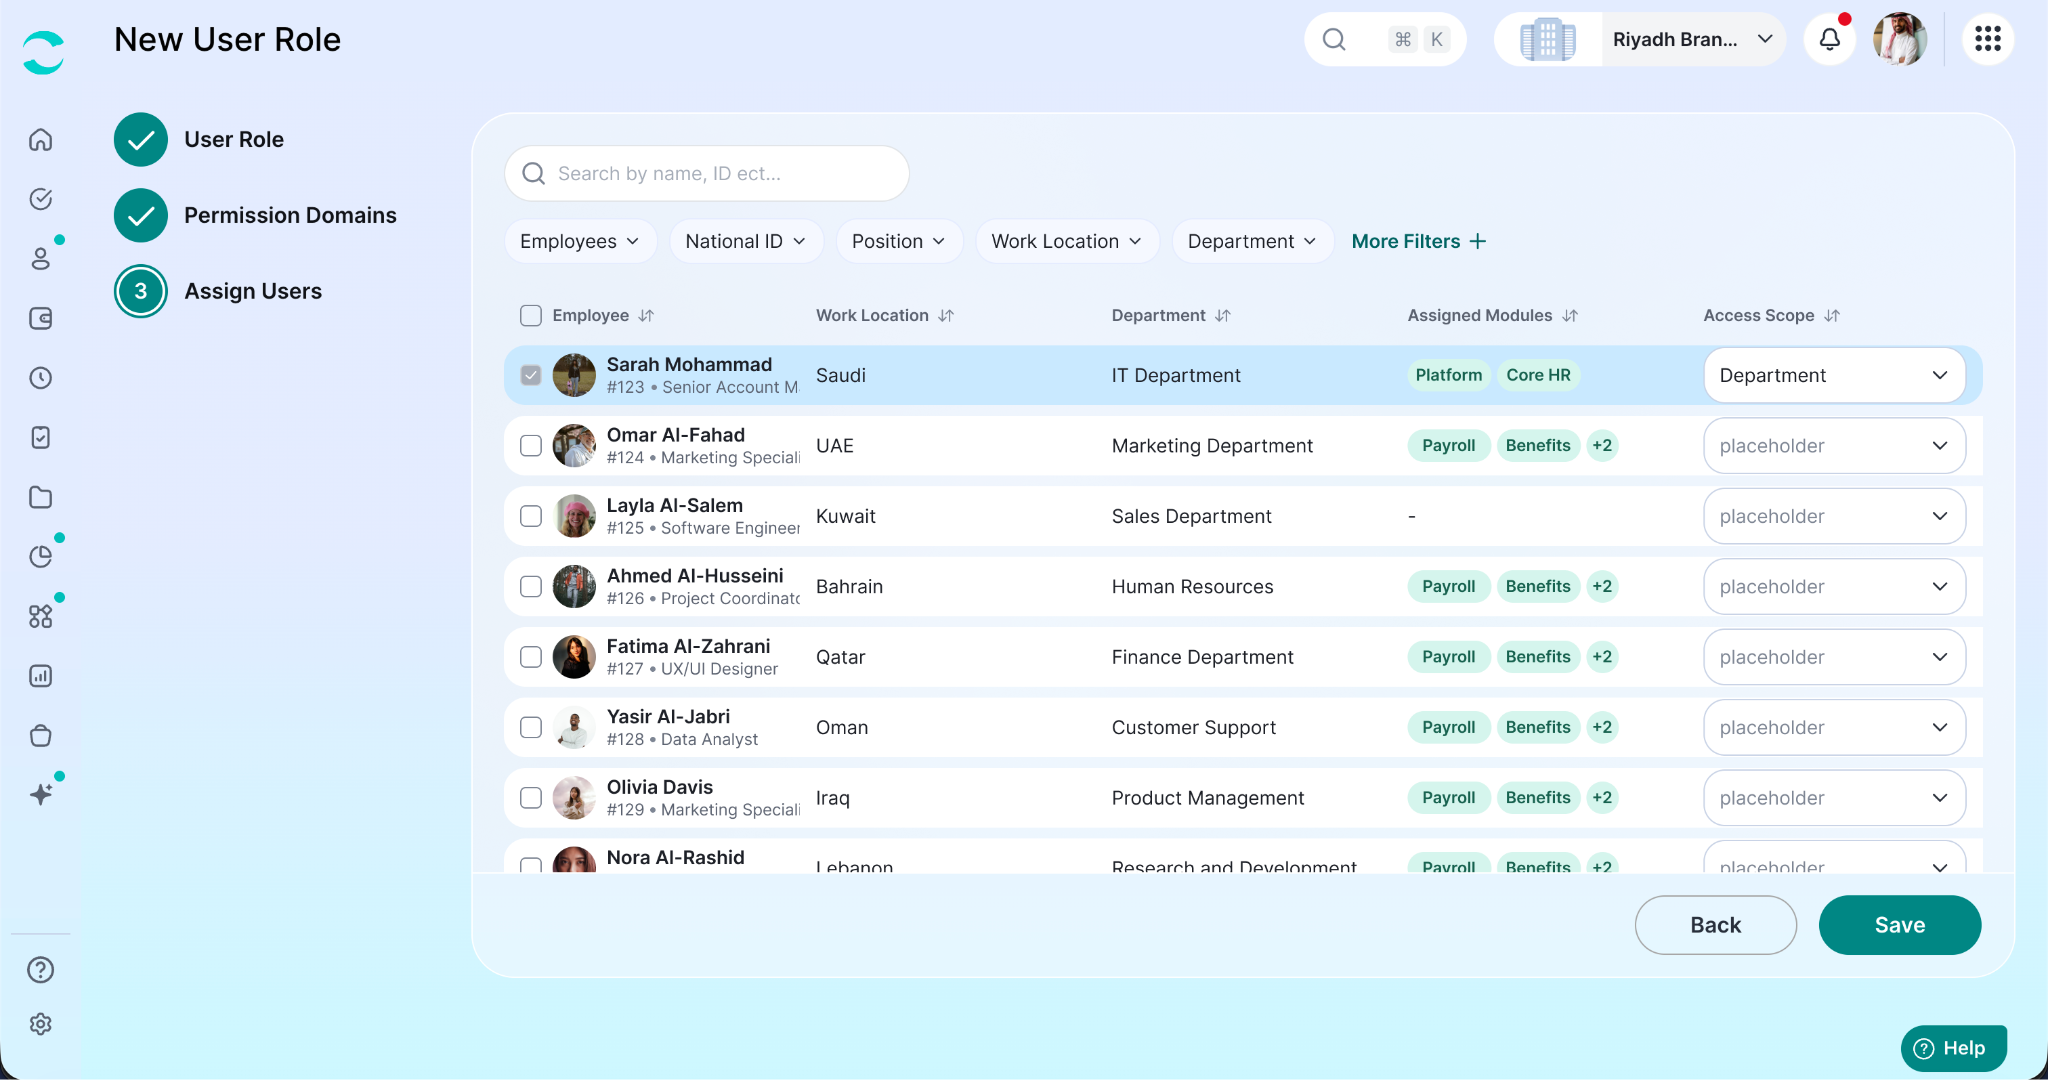
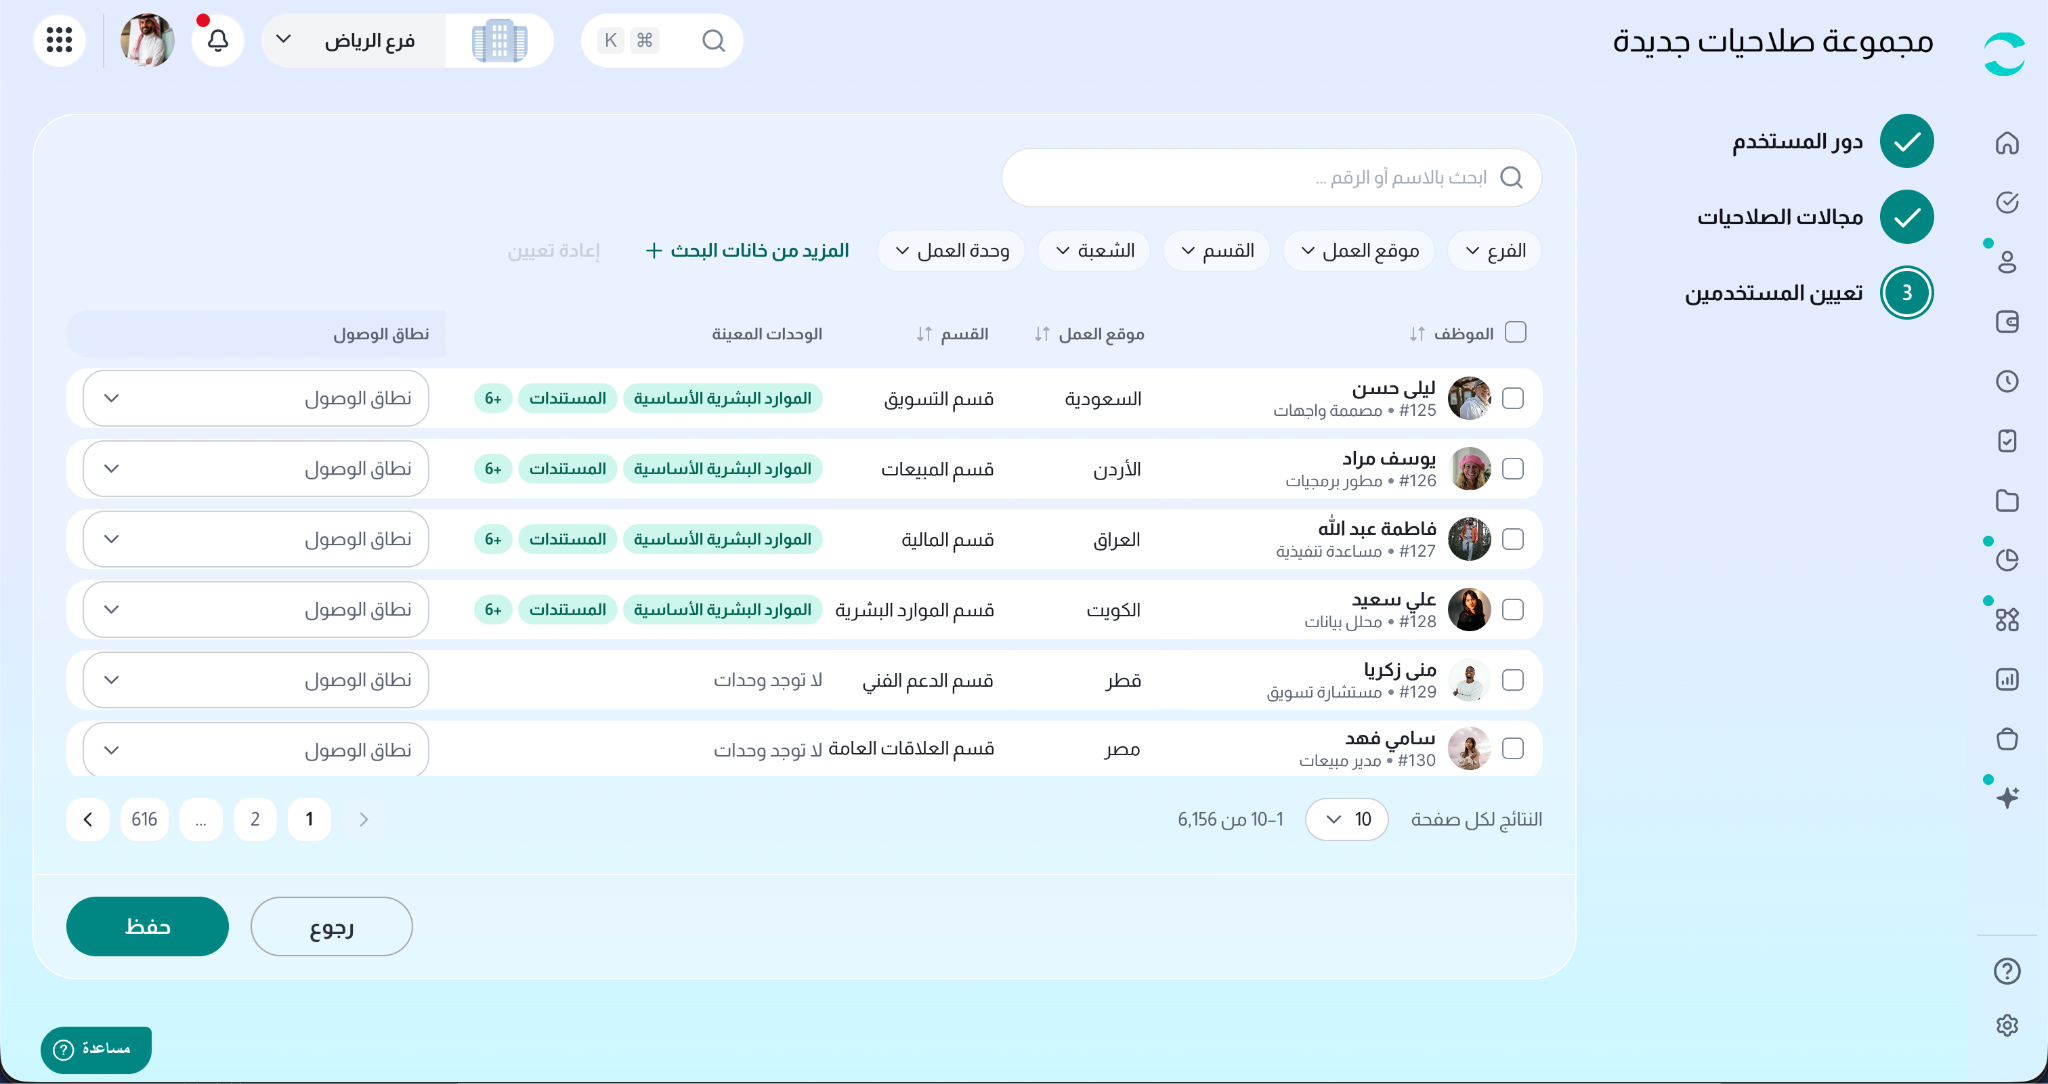
The list shows every user in your company:
To narrow the list, use the search box ("Search by name, ID …") or filter by Work Location and Department.
To assign a user:
Tick the checkbox on their row (or click the row).
In the Access Scope column, open the Access Scope picker and choose one or more scope types.
For every type you choose except Company and Subordinates, a second picker appears next to it - select which branches, sites, departments, sections or projects the user should cover. You can pick more than one.
Choosing a scope selects the row automatically. To remove a user, untick their row.
Note: Company is exclusive. Choosing it clears the narrower scopes, and choosing a narrower scope clears Company - the widest scope already covers everything the others would.
Users who are already assigned to the role open pre-ticked, with their saved scope shown, so you can see the current state and adjust it.
Access scopes explained
Saving
Click Save on the last step.
Before anything is written, ZenHR shows you a Review changes summary listing Adding (N) and Removing (N) by name. Check it, then click Confirm - or Cancel to go back and adjust.
The role and its user assignments are saved together, and you land back on the Access Control page with the message "User permissions saved."
If a selected user has no access scope, the save stops and an Access scope required dialog lists the people still missing one - including users on other pages of the list. Their rows are highlighted so you can find them. Give each of them a scope and save again.
Editing a Role
Open the actions menu on the role's row and choose Edit (or use Edit in the details panel). The wizard opens as Edit User Permissions with everything the role has today already filled in, and you move through the same three steps.
Everything works the same as when creating, with two differences:
Role Templates are not offered - you are refining an existing selection, not starting from scratch.
On a system-managed role, the Name field is locked.
Click Save on the last step to apply your changes.
Managing the Users on a Role
If you only want to change who holds a role - without touching its permissions - use Manage Users instead of the full wizard.
Open the actions menu on the role's row (or the details panel) and choose Manage Users.
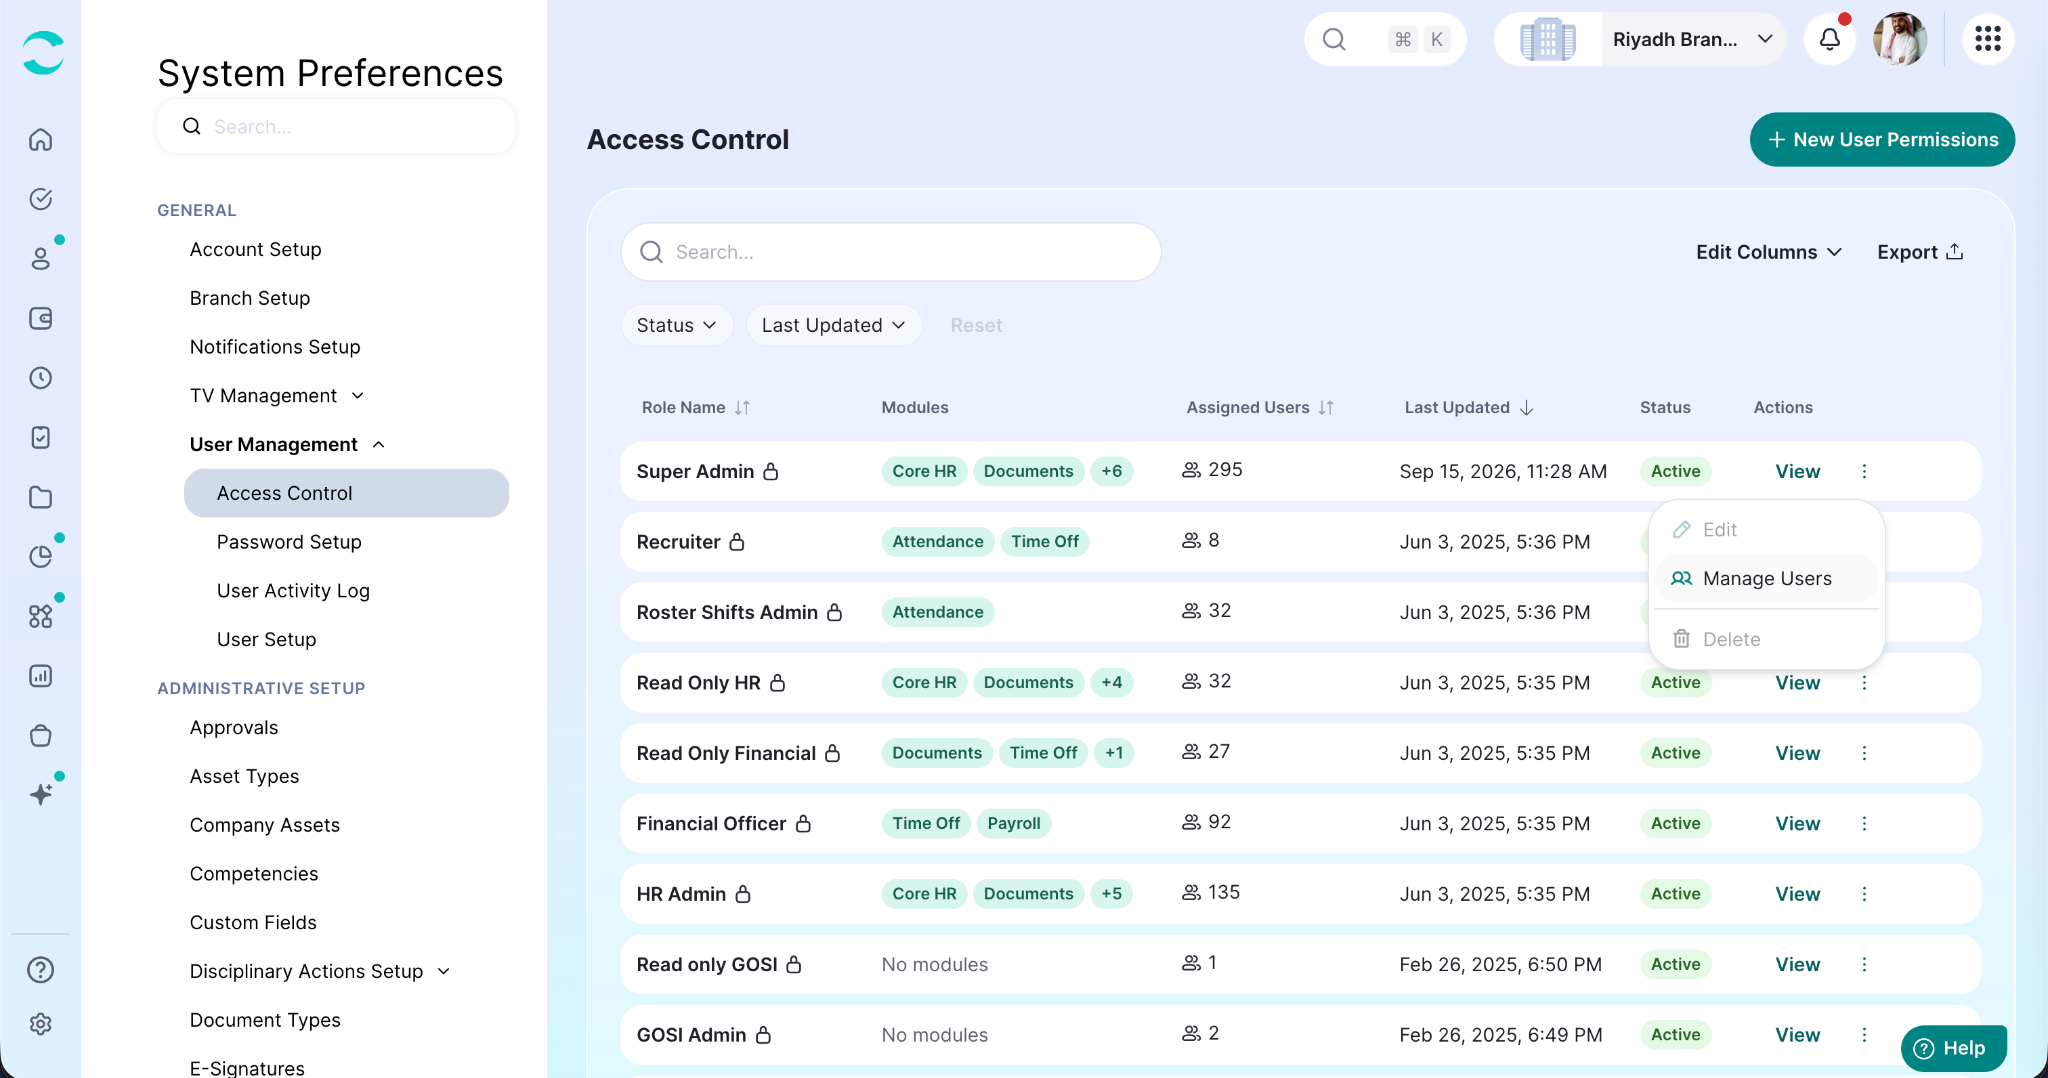
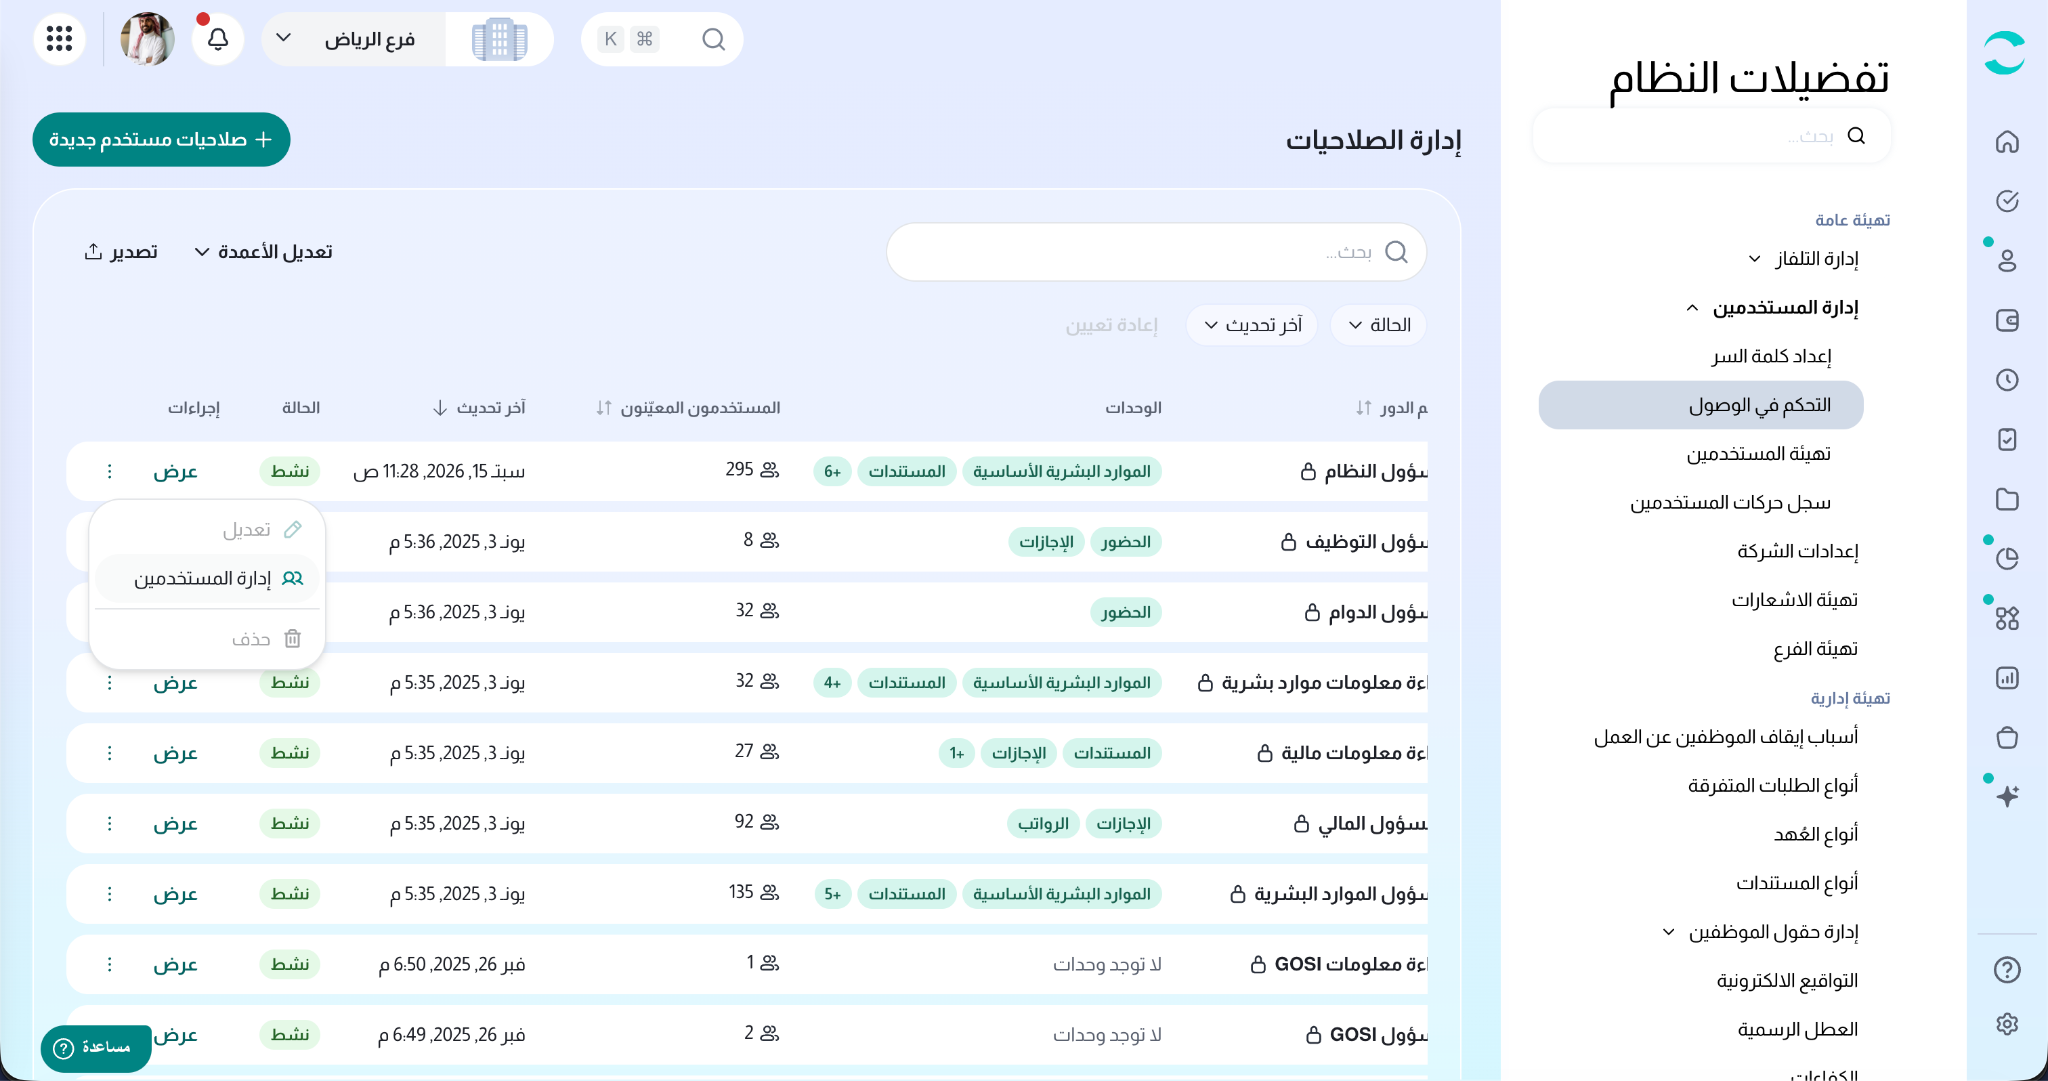
This is the same user list as Step 3 of the wizard, with the same search, filters, columns and Access Scope pickers. Tick users to add them, untick users to remove them, and adjust scopes as needed.
Click Assign (N) Users - where N is the total number of users who will hold the role once your changes are applied. You get the same Review changes summary, and the same Access scope required check if anyone is missing a scope. On success you'll see "Users updated successfully."
Click Cancel to leave without saving.
Activating & Deactivating a Role
A role can be switched off without being deleted. While a role is Inactive it grants nothing - the people assigned to it keep the assignment, but the access it carries stops applying. Switch it back on and their access returns exactly as it was.
To change a role's status, open the role's details panel and click Deactivate or Activate. ZenHR asks you to confirm under Change Role Status.
You can also set the status from the Active toggle in Step 1 of the wizard.
Deleting a Role
Open the actions menu on the role's row and choose Delete, or use Delete in the details panel. You are asked to confirm under Delete Role: "Are you sure you want to delete this role? This action cannot be undone."
Delete is only available for a role with no assigned users. While anyone still holds the role, the option is disabled and shows the tooltip "This role has assigned users and cannot be deleted or deactivated." Remove the users first - through Manage Users - and then delete the role.
System-managed roles cannot be deleted at all.
Note: deleted roles cannot be restored.
Permission Domains Reference
The full catalogue of what you can grant, module by module. Use it to plan a role before you build it.
Core HR
Day-to-day employee operations - records, requests, assets, and assignments.
Documents
Employee documents and generated HR letters.
Attendance
Clock-in and clock-out logs, missing punches, and suggested corrections.
Time Off
Leave transactions, balances, and their corrections and encashments.
Payroll
Timesheets, financial transactions, loans, expenses, and termination settlements.
Reports
Attendance and vacation-balance reporting.
Performance Evaluation
Evaluation setup templates, cycles, and evaluation reports.
Integrations
Marketplace integrations and partner offers, by category.
System Preferences
Company-wide configuration - branches, notifications, and setup catalogs.
User Management
Account administration - who has access, and what their role grants.
Important Notes
A role does nothing on its own - it only takes effect once it is assigned to a user with an access scope.
Manage always includes Read. Ticking Manage ticks and locks Read; some features offer Manage only.
Company scope is exclusive - it cannot be combined with Branch, Site, Department, Section or Project.
Subordinates scope has no picker: ZenHR resolves it from the user's own employee record and reporting line.
Every selected user needs an access scope. Saving is blocked until each of them has one.
A user can hold more than one role, and the same role with more than one scope type. Their access is everything their roles grant, combined.
The role and its user assignments are saved together - if any part fails, nothing is saved.
System-managed roles are pinned to the top of the list, their name cannot be changed, and they cannot be deleted.
A role with assigned users cannot be deleted. Remove its users first.
Deactivating a role suspends the access it grants without losing the assignments; deleting it cannot be undone.
The Assign Users list covers the whole company, not just your current branch. Terminated employees are not listed; users without an employee record (such as company owners and administrators) are.
The Assigned Modules column reflects everything the person can reach through all of their roles - not just the role you are editing.
Permission changes take effect immediately. A user who is already signed in may need to refresh the page to see them.
Access Control replaces the previous Company Roles page. Your existing roles are all here.
Was this article helpful?
That’s Great!
Thank you for your feedback
Sorry! We couldn't be helpful
Thank you for your feedback
Feedback sent
We appreciate your effort and will try to fix the article