The Documents Module in ZenHR allows users and admins to manage and organize documents related to employees and the company. The module is divided into three main sections: My Documents, Shared Documents, and Manage Documents. Each section serves a specific purpose and provides different functionalities.
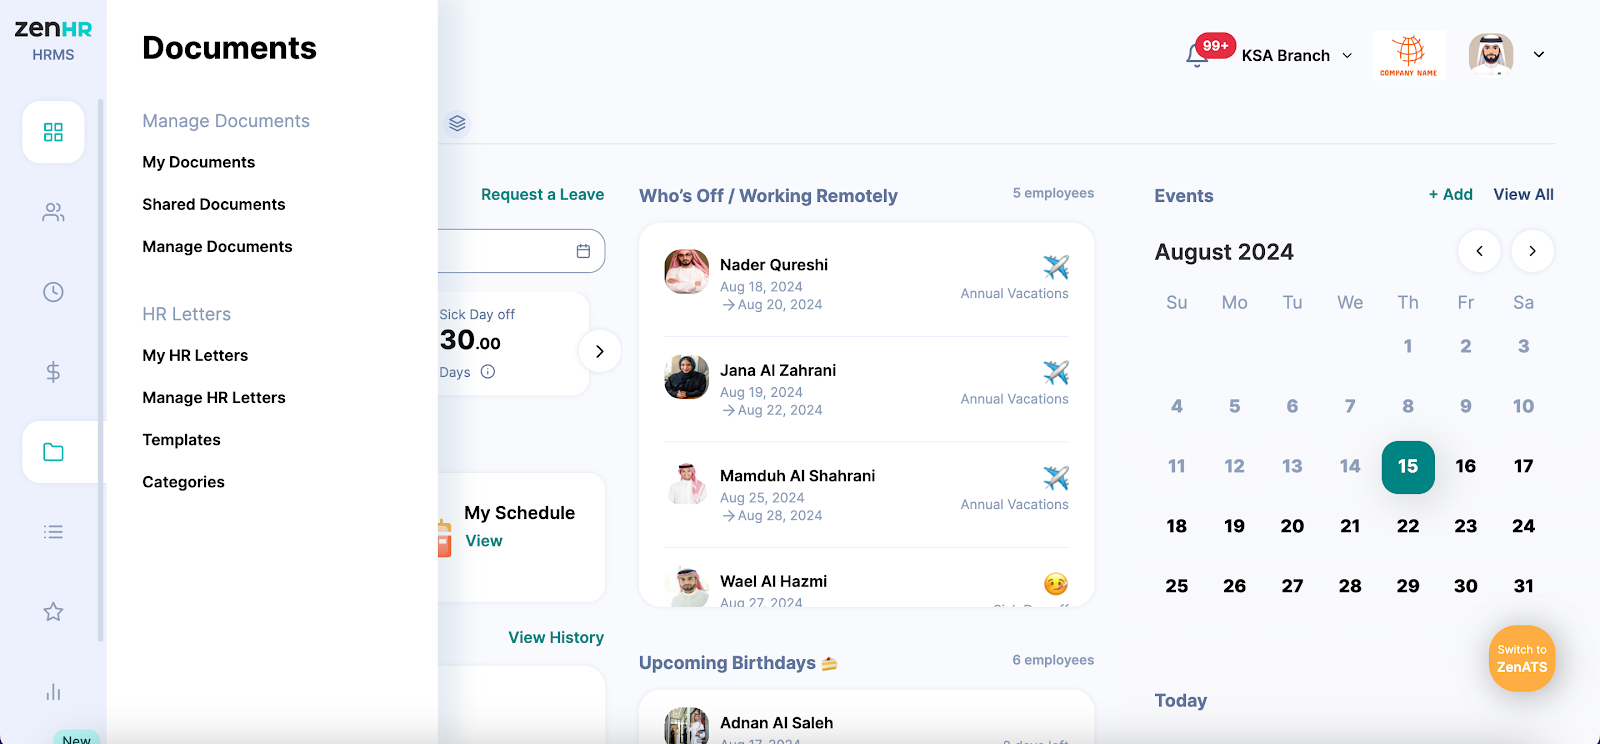
My Documents
This section allows users to manage their personal documents, such as certificates, experience letters, and other personal files.

Actions
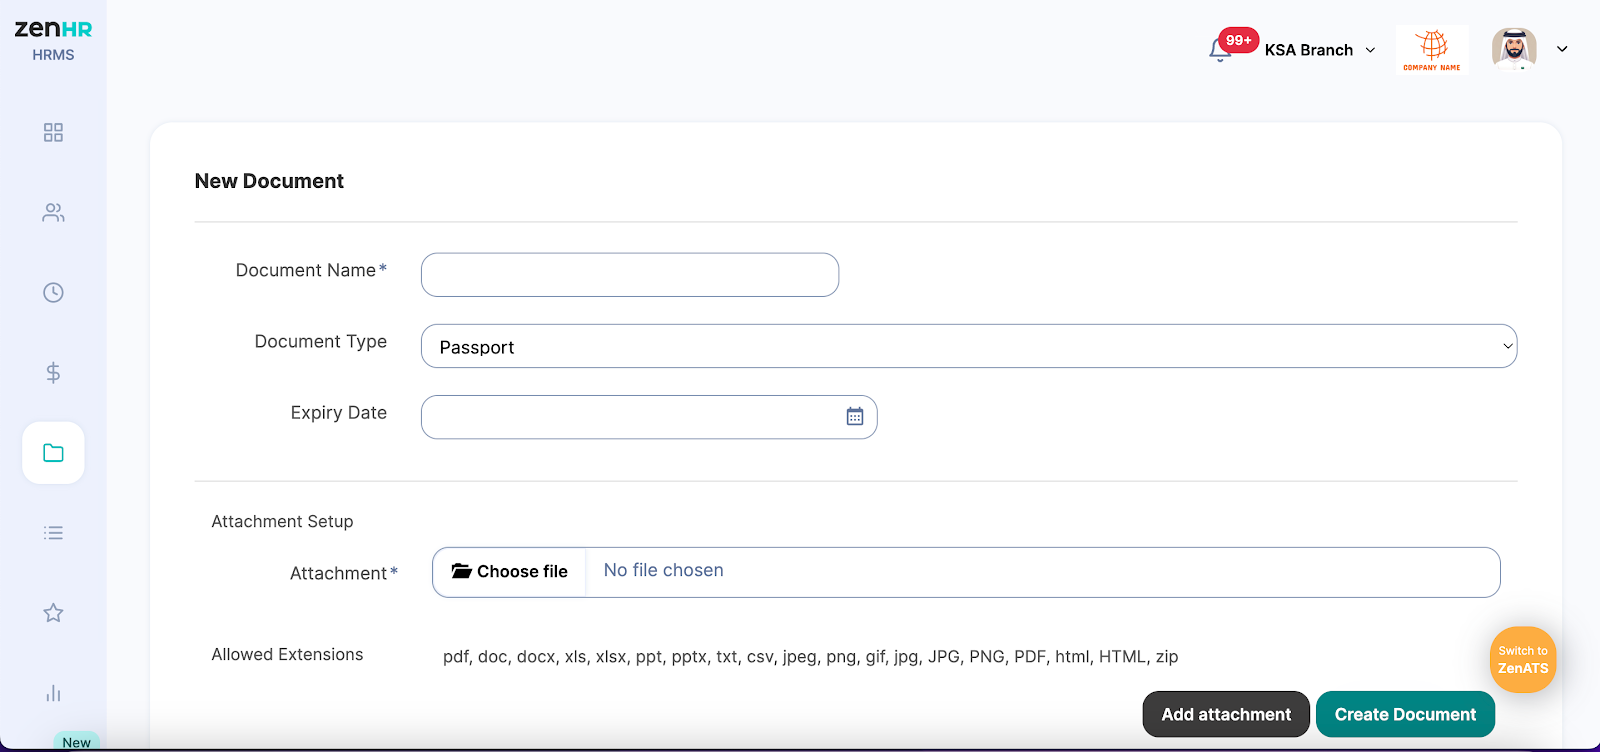
Add New Document:
Click on the "+ Add" button.
Fill in the document details, including:
Document Name
Document Type (e.g., Passport, Experience Letter, etc.)
Expiry Date (if applicable)
Attach the document file (formats allowed: pdf, doc, docx, xls, etc.)
Click on "Create Document".
Edit Document:
Click on the "Edit" button next to the document you want to modify.
Update the necessary fields.
Save the changes.
Delete Document:
Select the document you want to delete.
Click on the "Delete" button and confirm the action.
Shared Documents
This section displays documents that have been shared across the company, such as company policies, employee handbooks, and other essential documents.

Actions
View Shared Documents:
Simply click on the document title to view its contents.
Edit Shared Documents:
Admins can edit shared documents by clicking the "Edit" button next to the document.
Update any relevant information and save the changes.
Search Shared Documents:
Use the search bar to quickly find specific documents within the shared documents section.
Manage Documents (Admins Only)
This section is accessible only to admins and allows them to manage all documents within the organization.
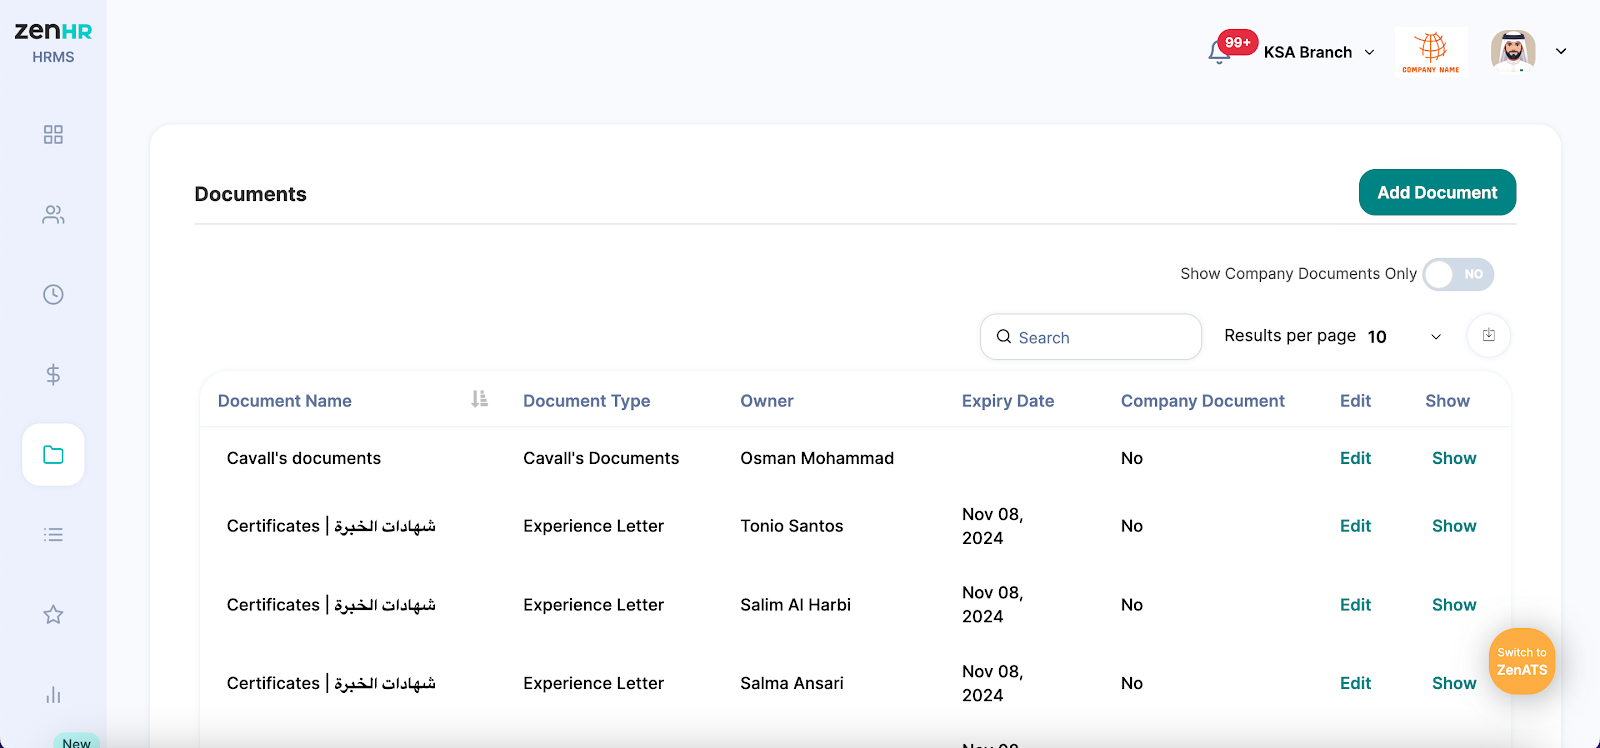

Actions
Add Document
Click on the "Add Document" button.
Fill in the details such as:
Owner (select the employee the document belongs to)
Document Name
Document Type
Expiry Date
Attachment (upload the document)
Mark as "Company Document" if applicable.
Click on "Create Document" to finalize.
Edit Document
Click on the "Edit" button beside the document you wish to modify.
Update the fields as necessary.
Save your changes.
View Document
Click on the "Show" button next to the document to view its details.
Delete Document
Select the document and click on "Delete" to remove it from the system.
Filter Documents
Use the filtering options to display documents based on specific criteria, such as Document Type, Owner, Expiry Date, etc.
Was this article helpful?
That’s Great!
Thank you for your feedback
Sorry! We couldn't be helpful
Thank you for your feedback
Feedback sent
We appreciate your effort and will try to fix the article